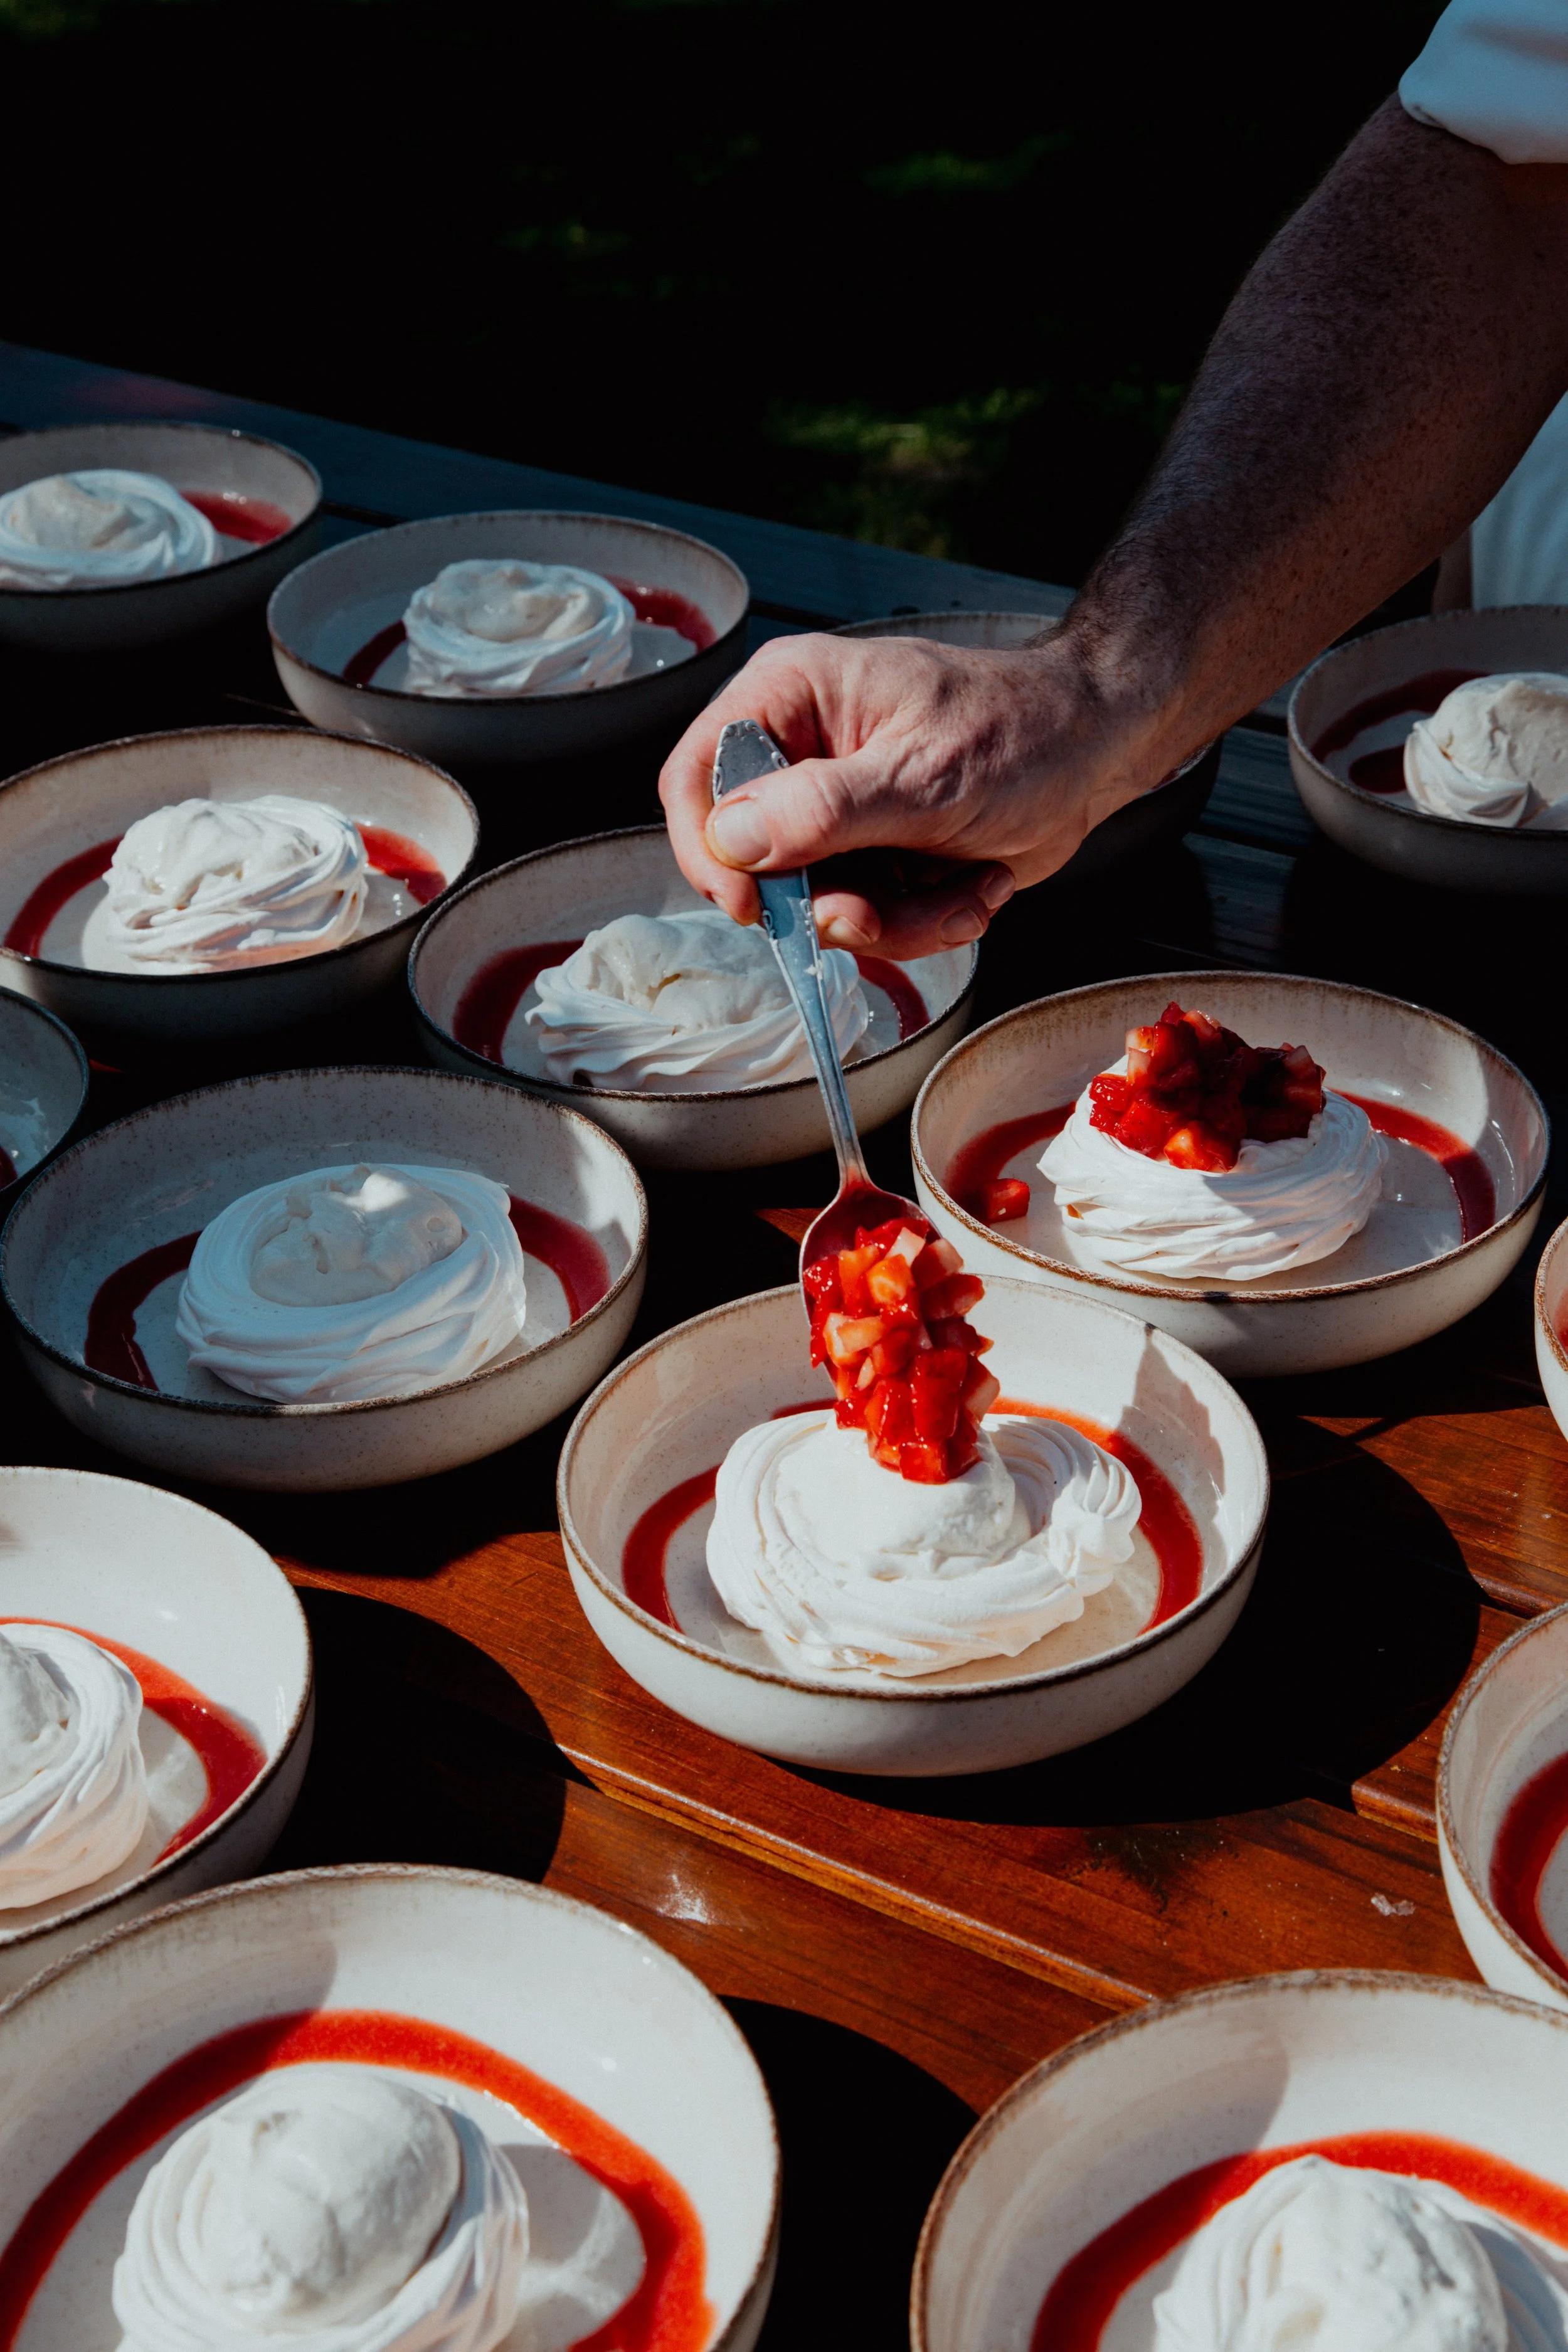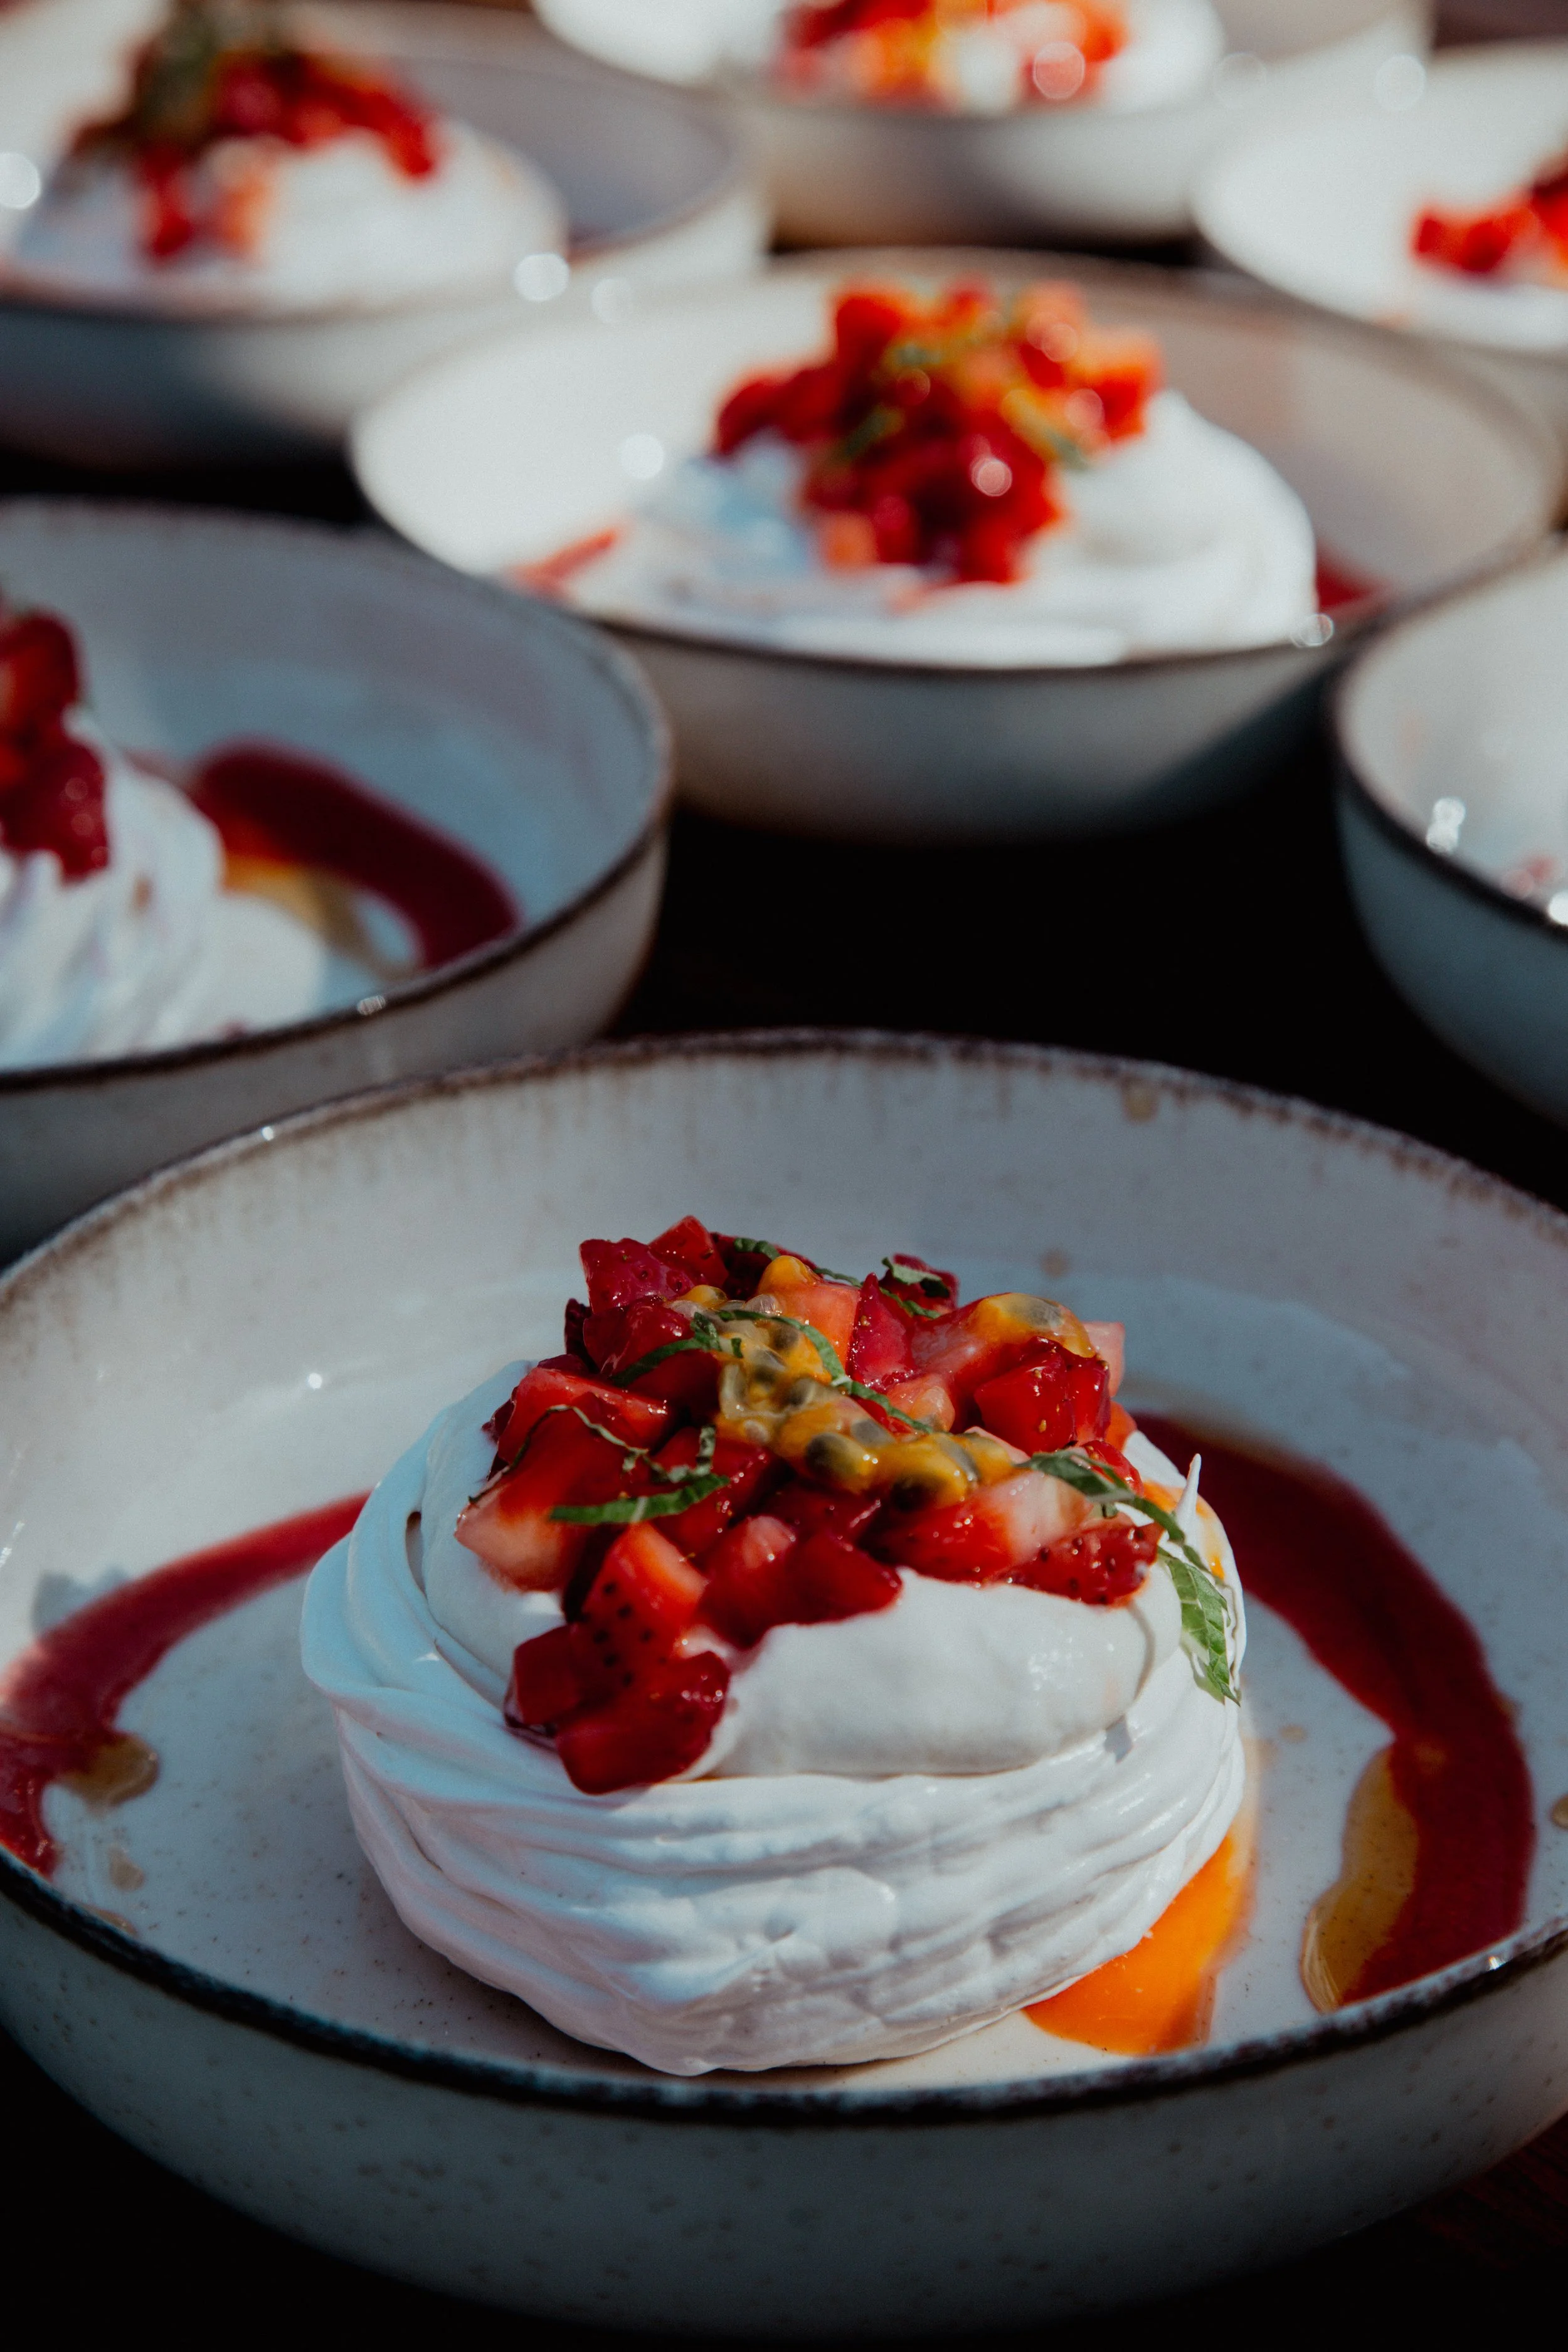
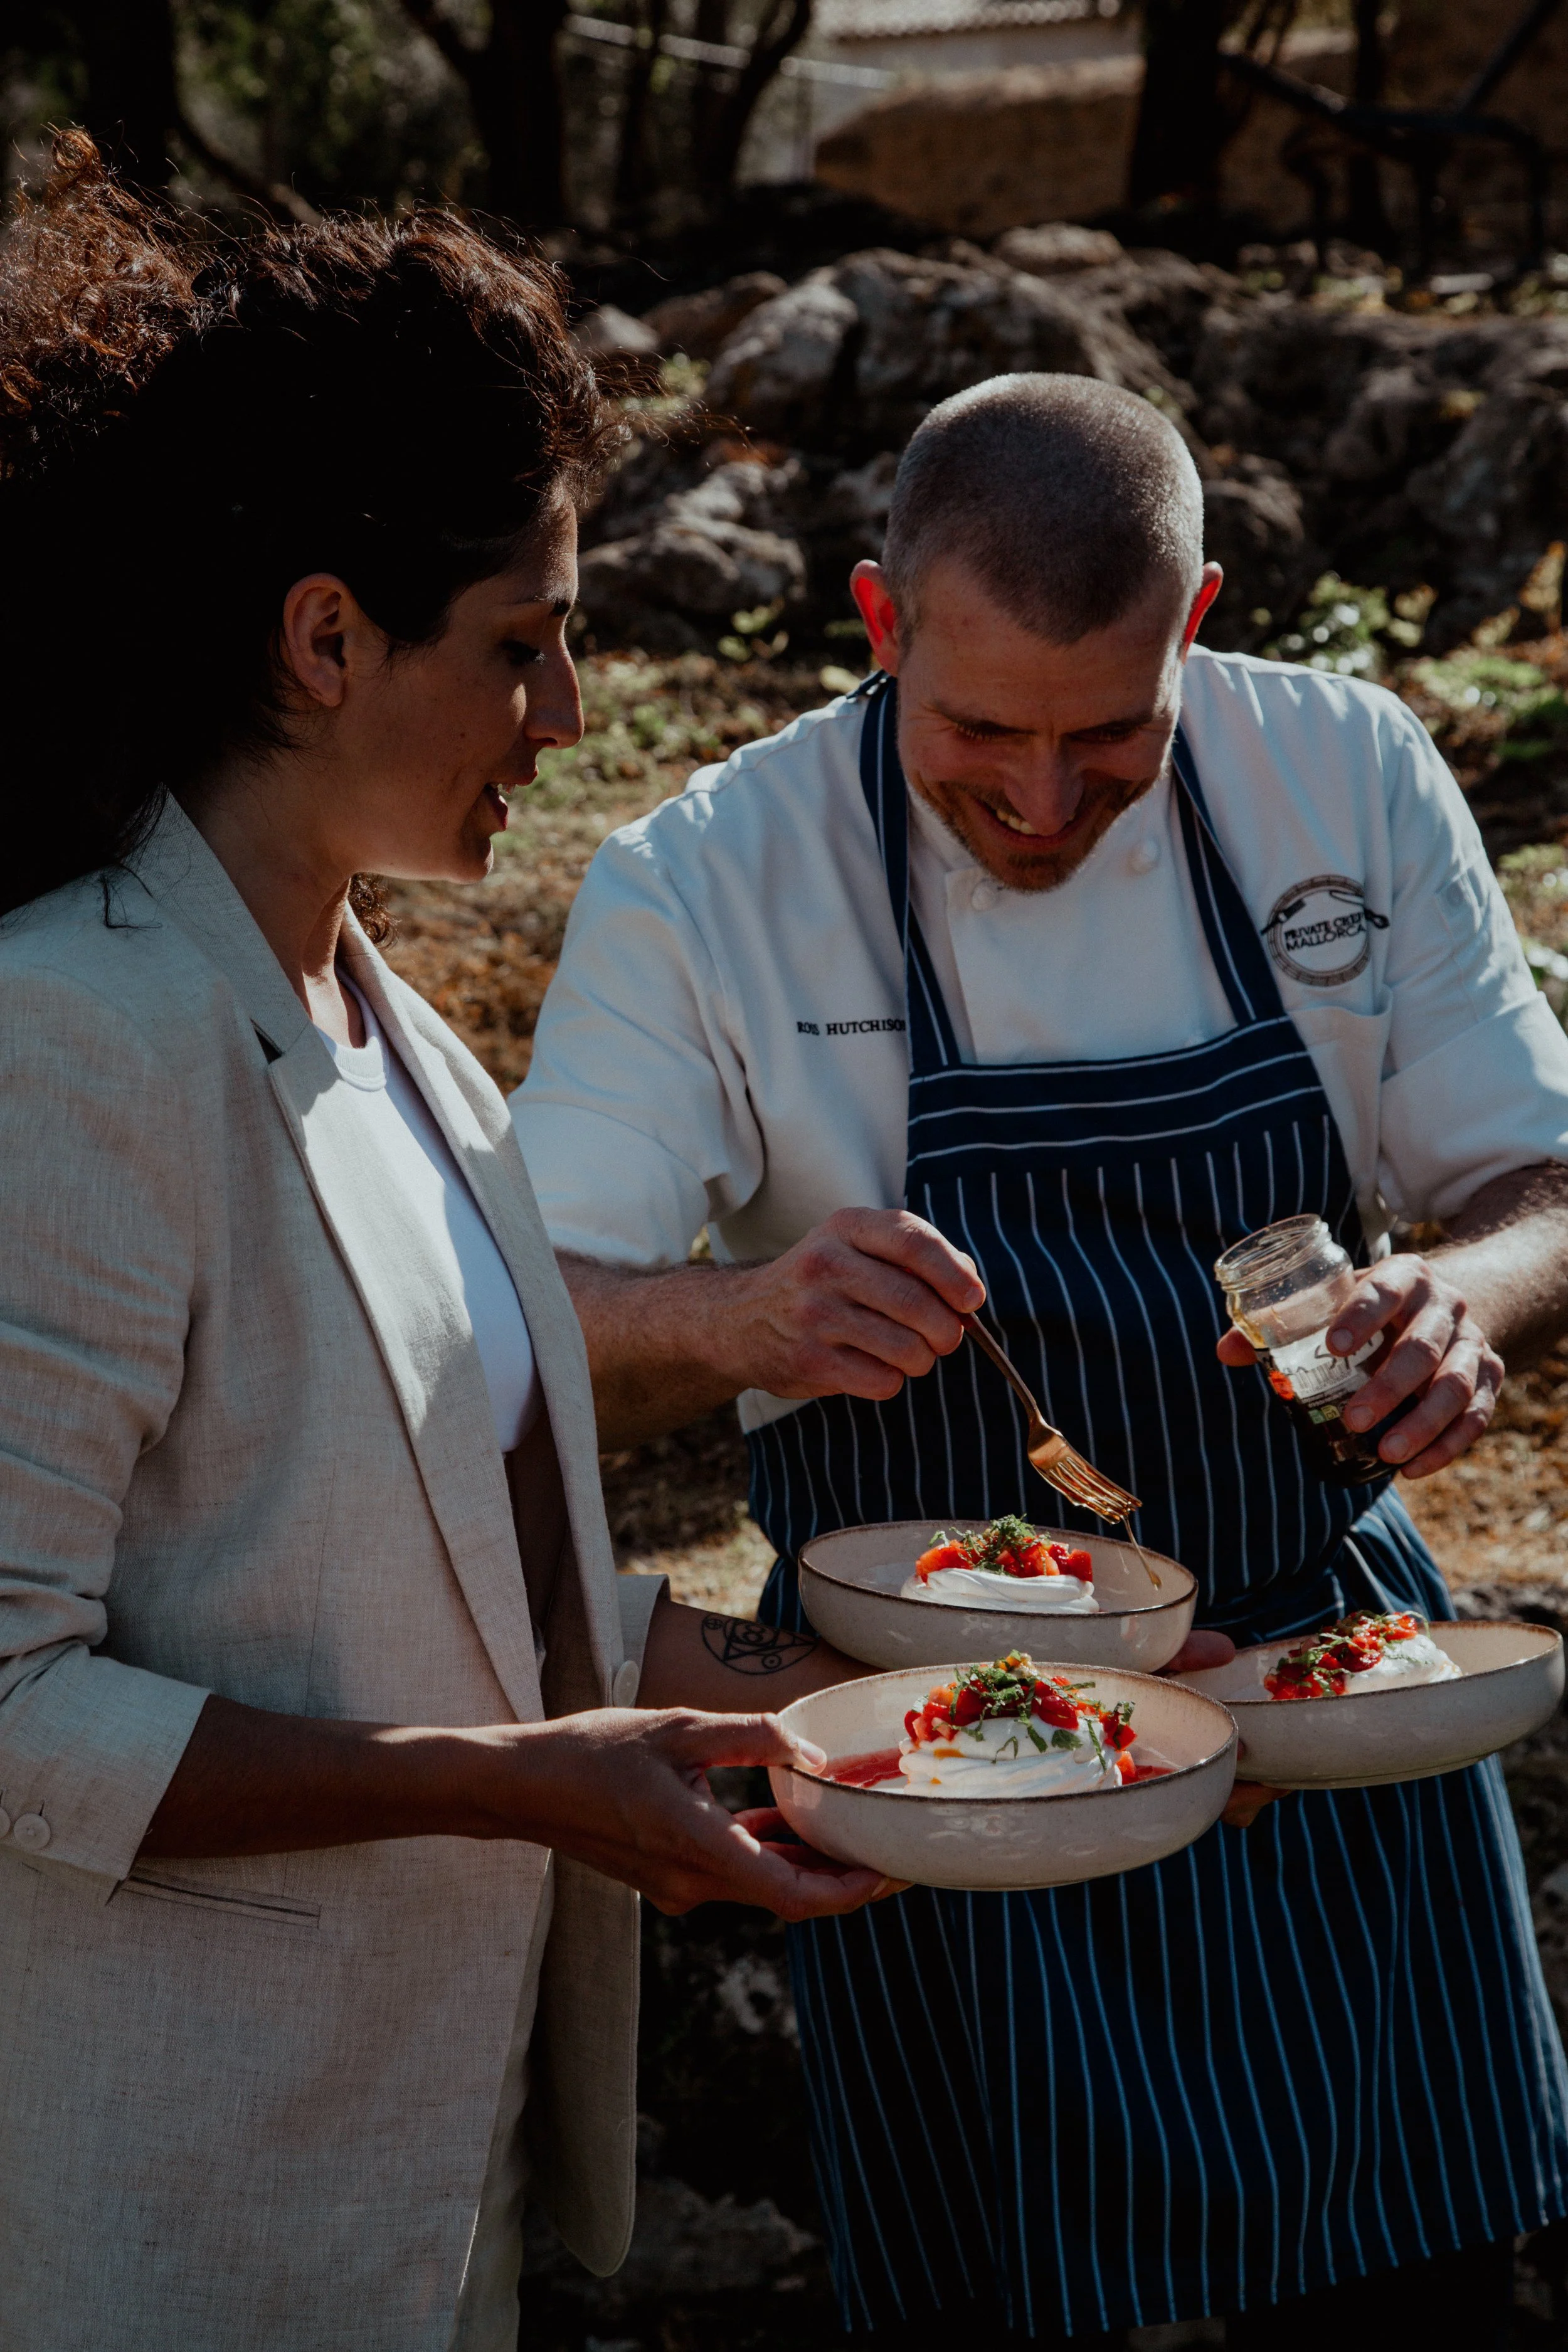
There are certain dishes that I find myself returning to time and time again, and this little pavlova is definitely one of them. It's become a firm favourite on my private dining menus here in Mallorca, and for good reason. It's light, crispy, creamy, fruity and, most importantly, one of those desserts that always seems to make people very happy!
The best part is watching my guests take their first bite. There's usually a moment of complete silence around the table, quickly followed by a collective "mmmmmmmmmh" as everyone digs in. As a chef, those are the little moments that always bring a smile to my face.
Recently, one of my guests, Ugne, enjoyed it so much that she asked me for the recipe, so I thought it was about time I shared it with everyone. Ugne, this one is for you!
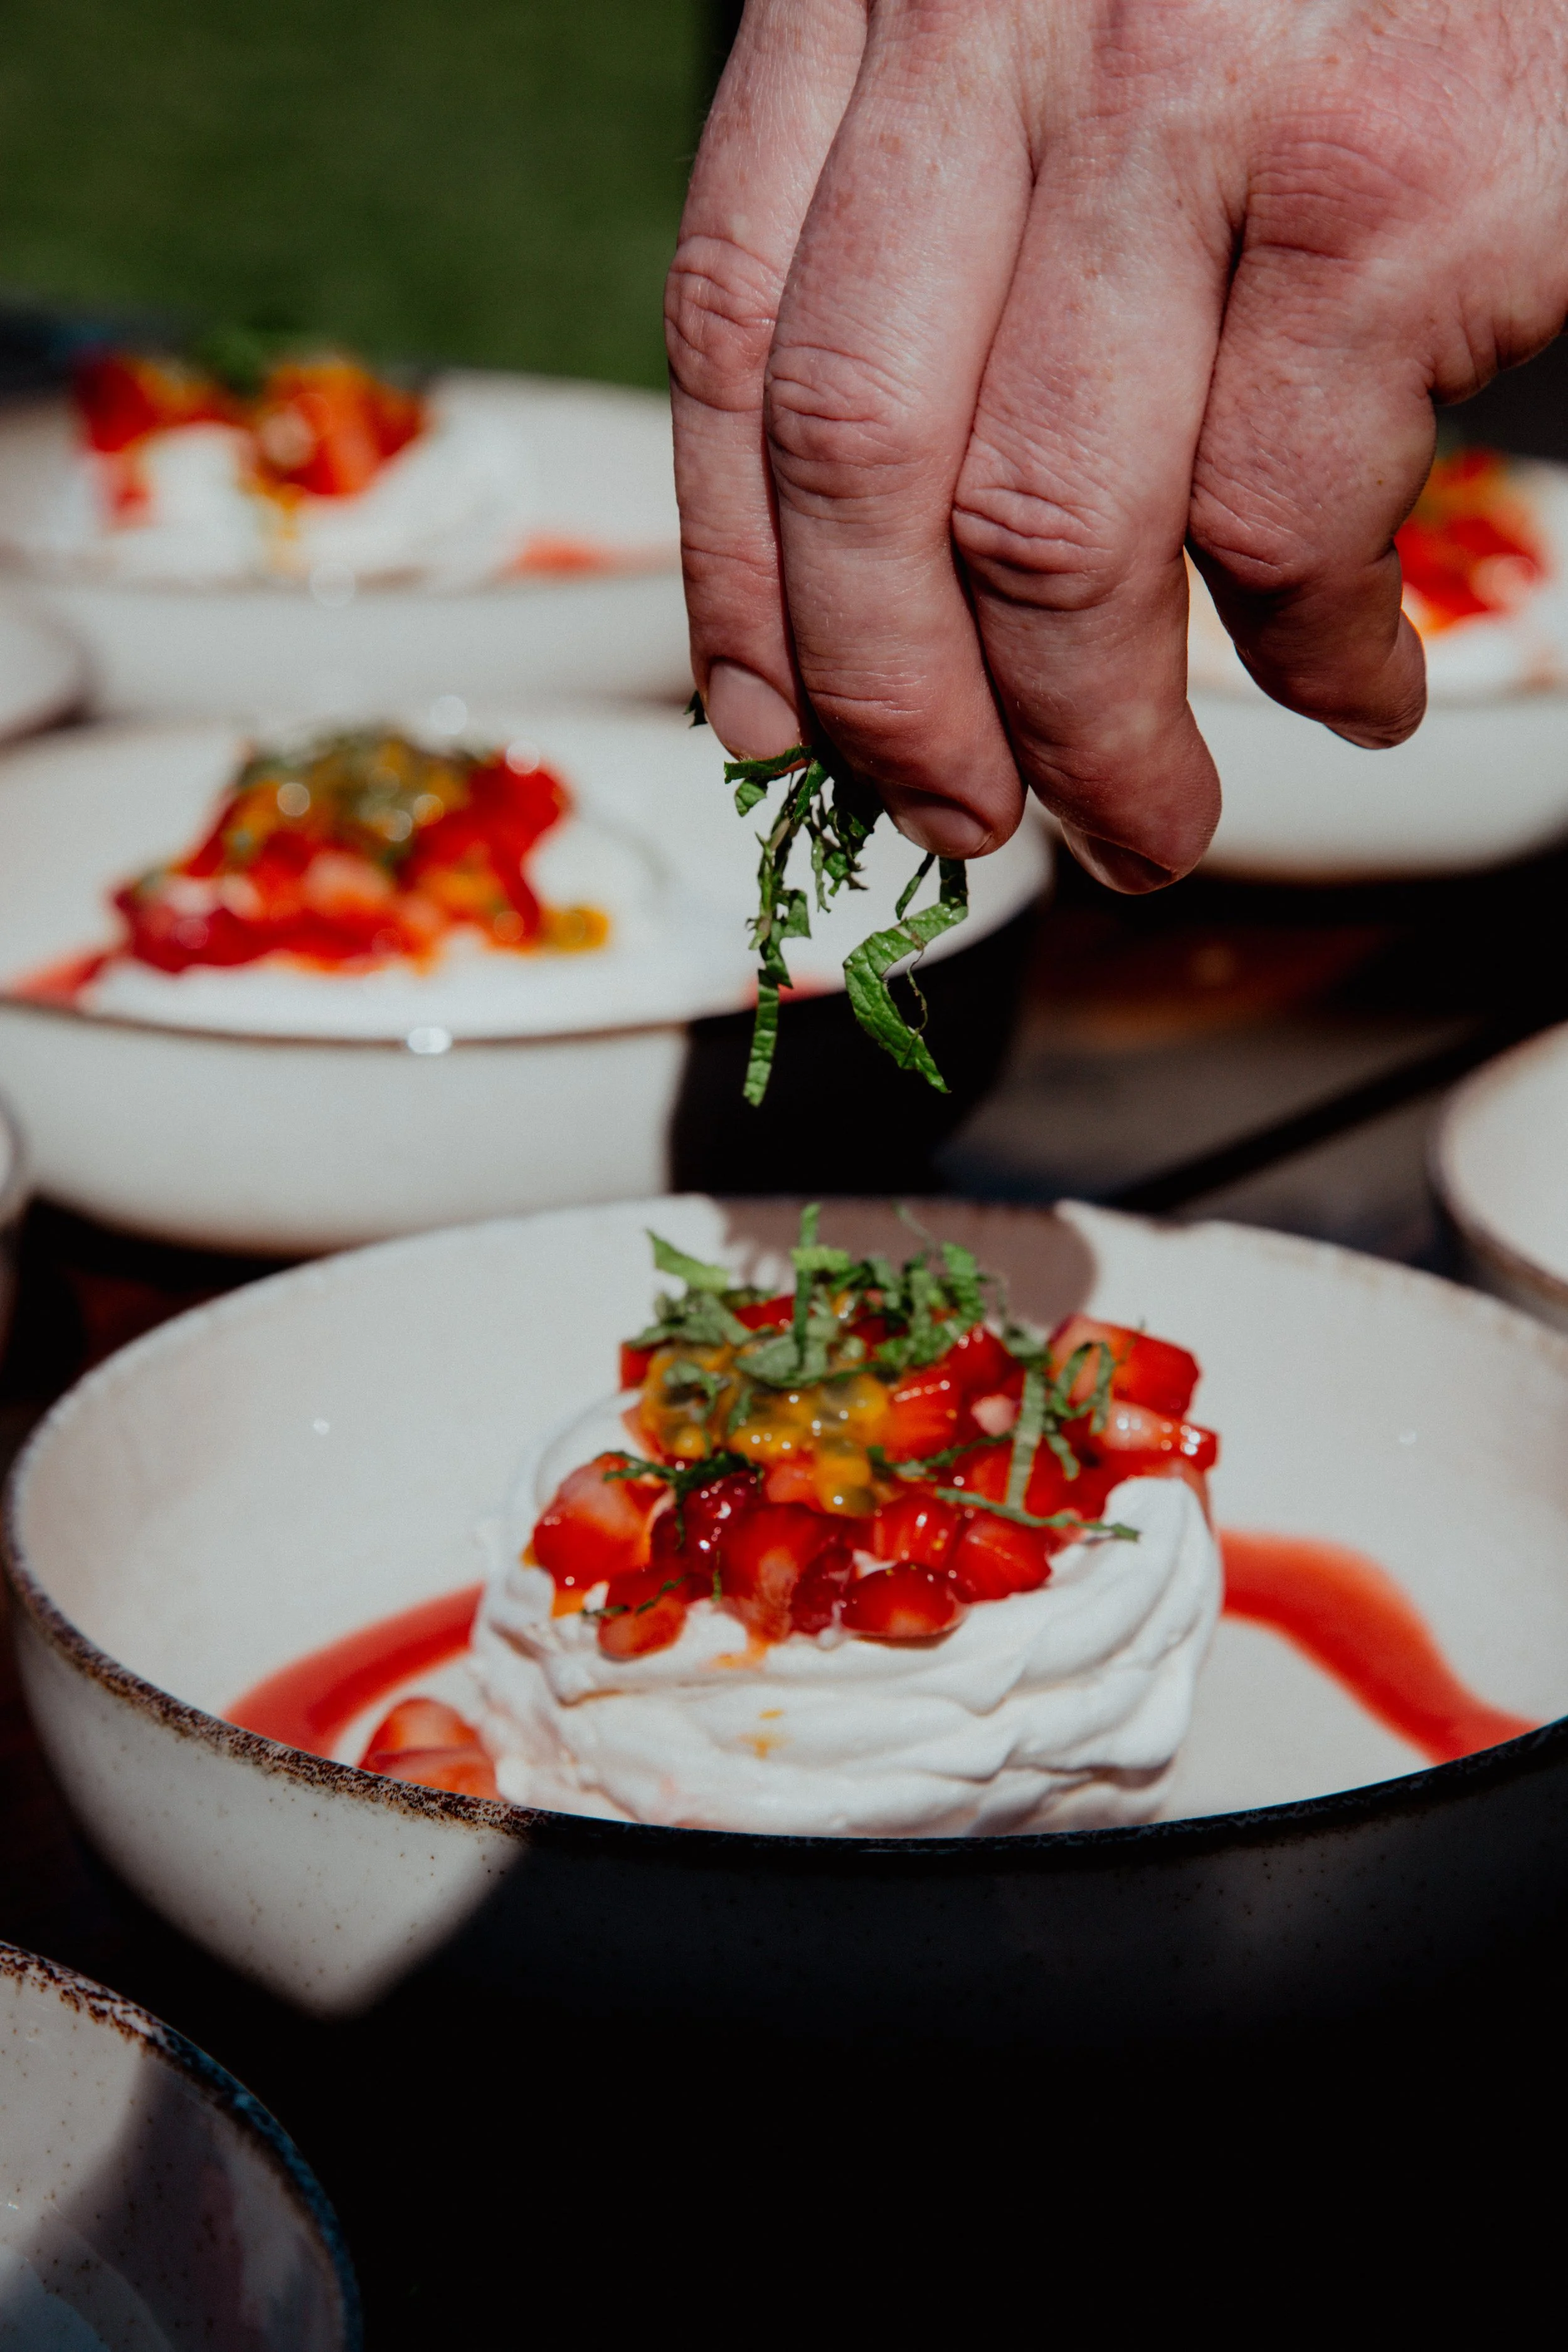
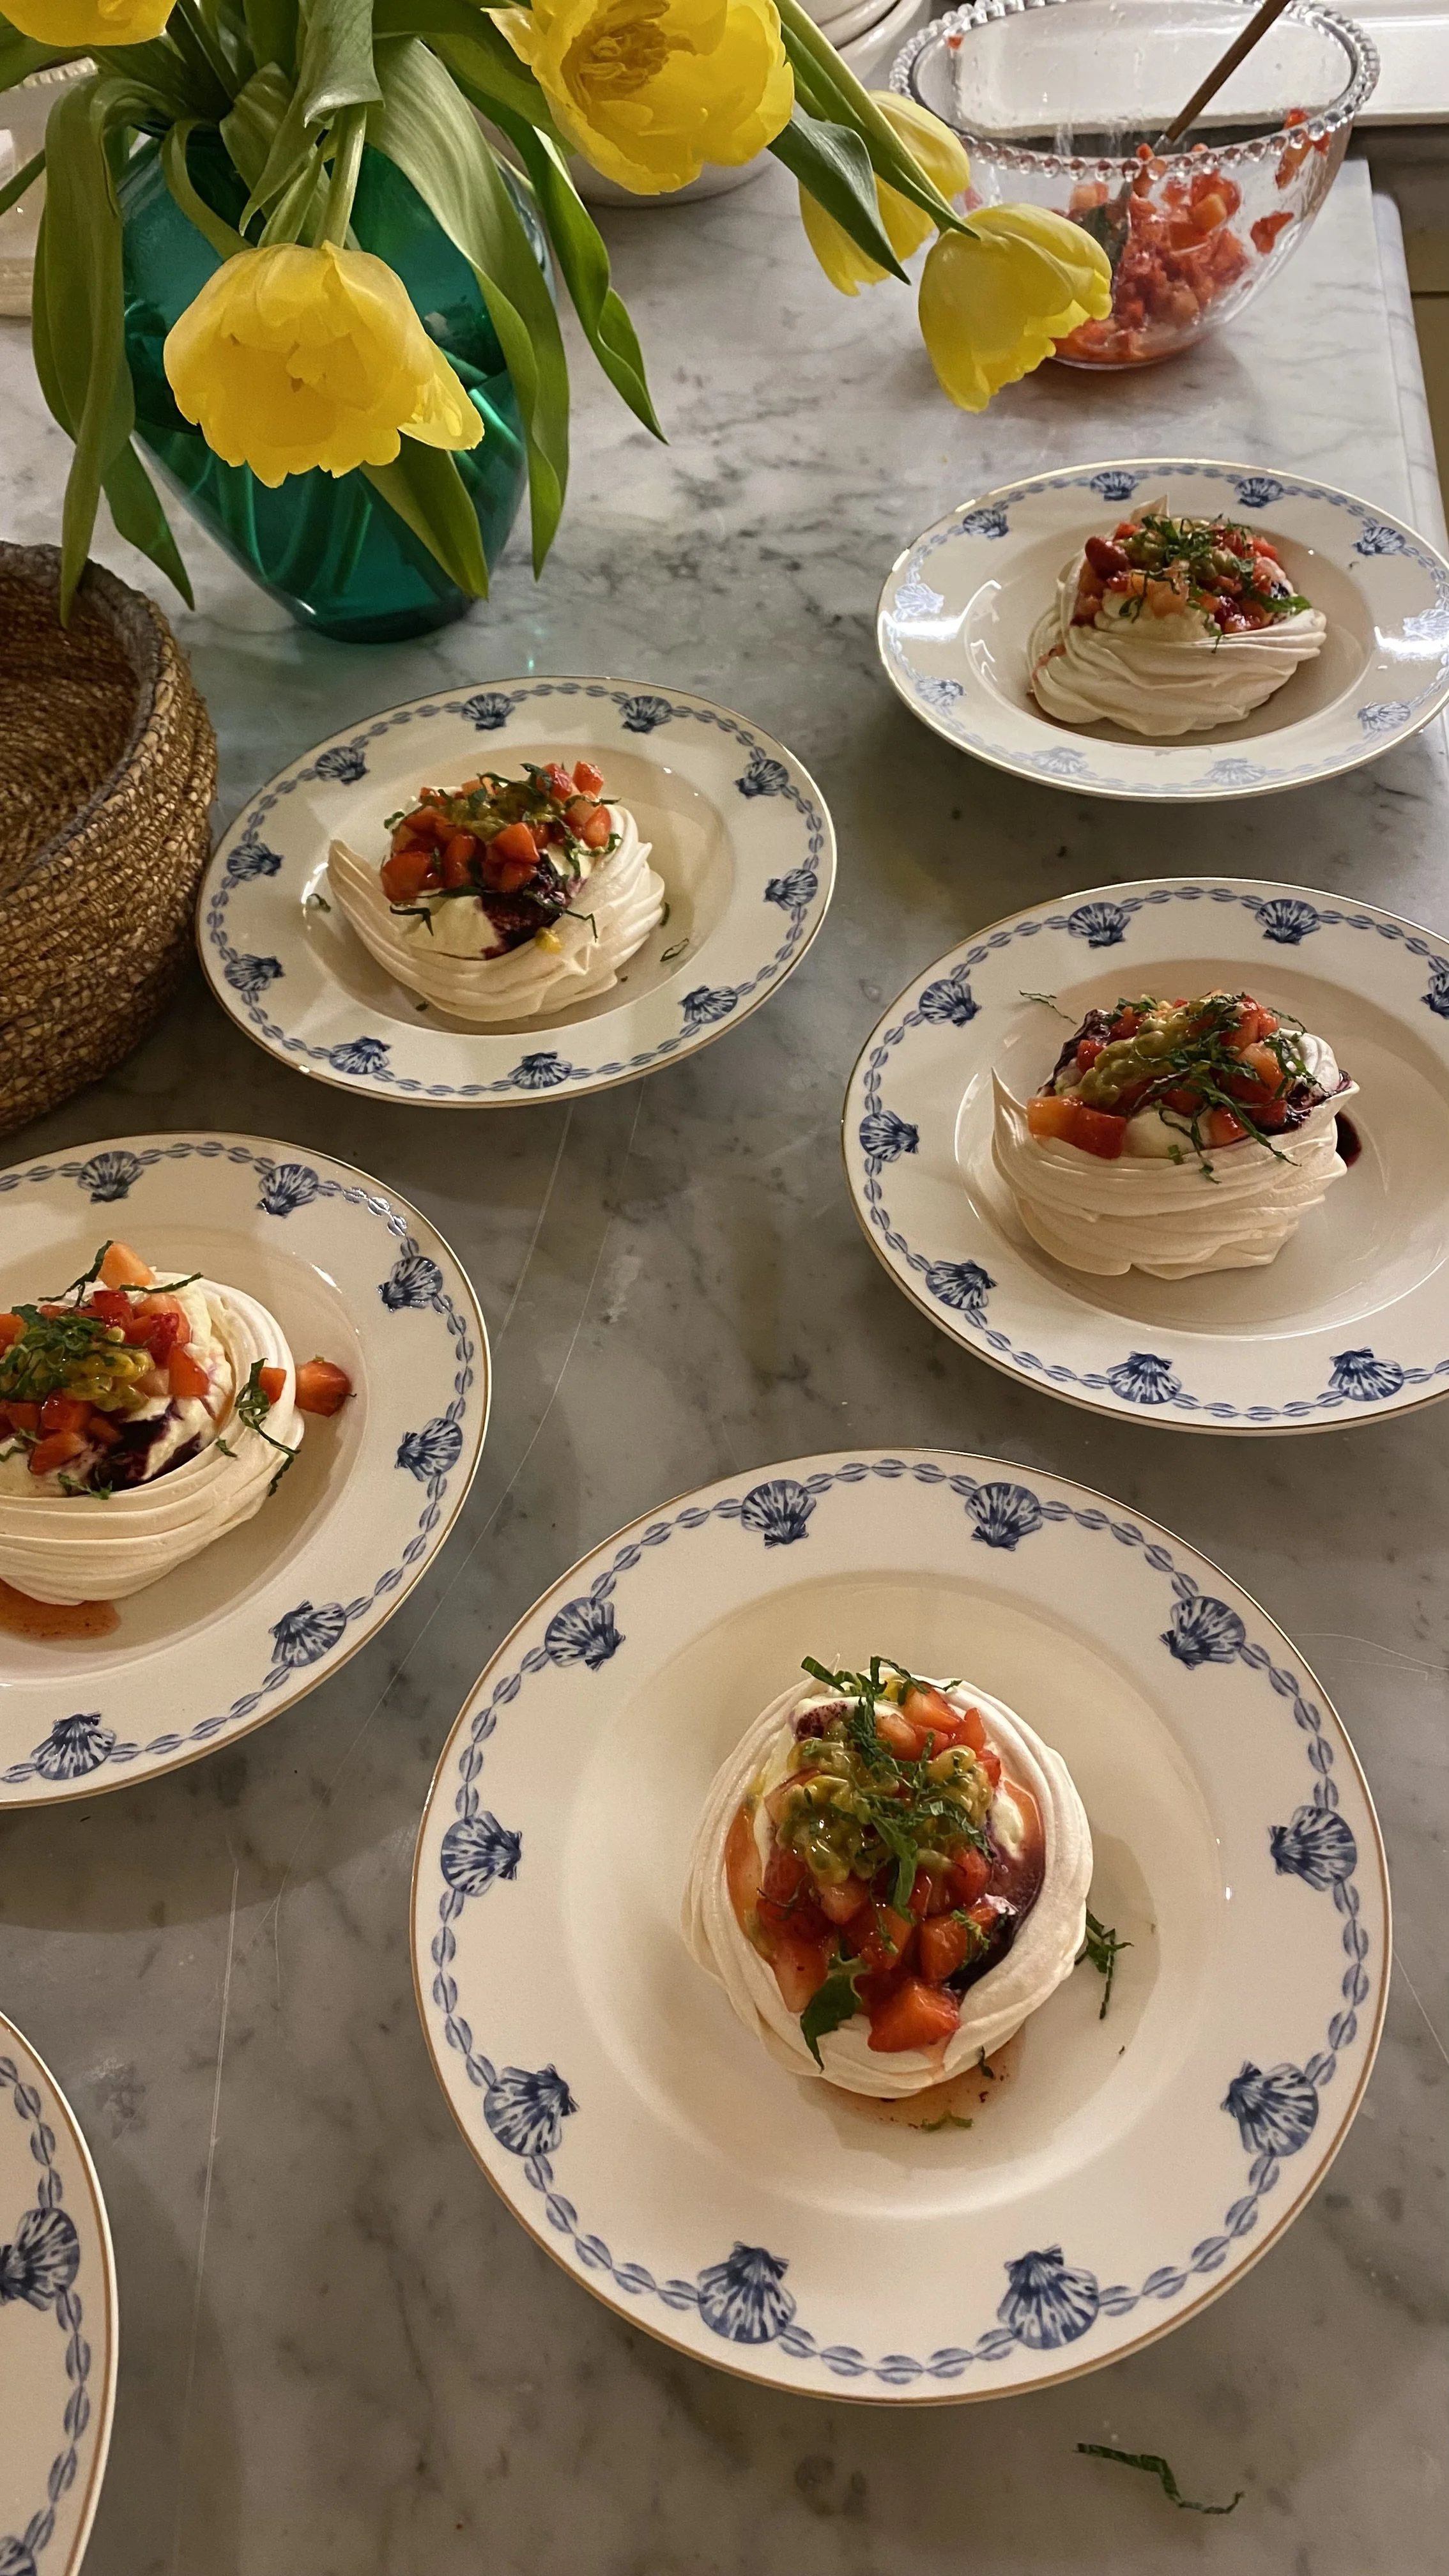
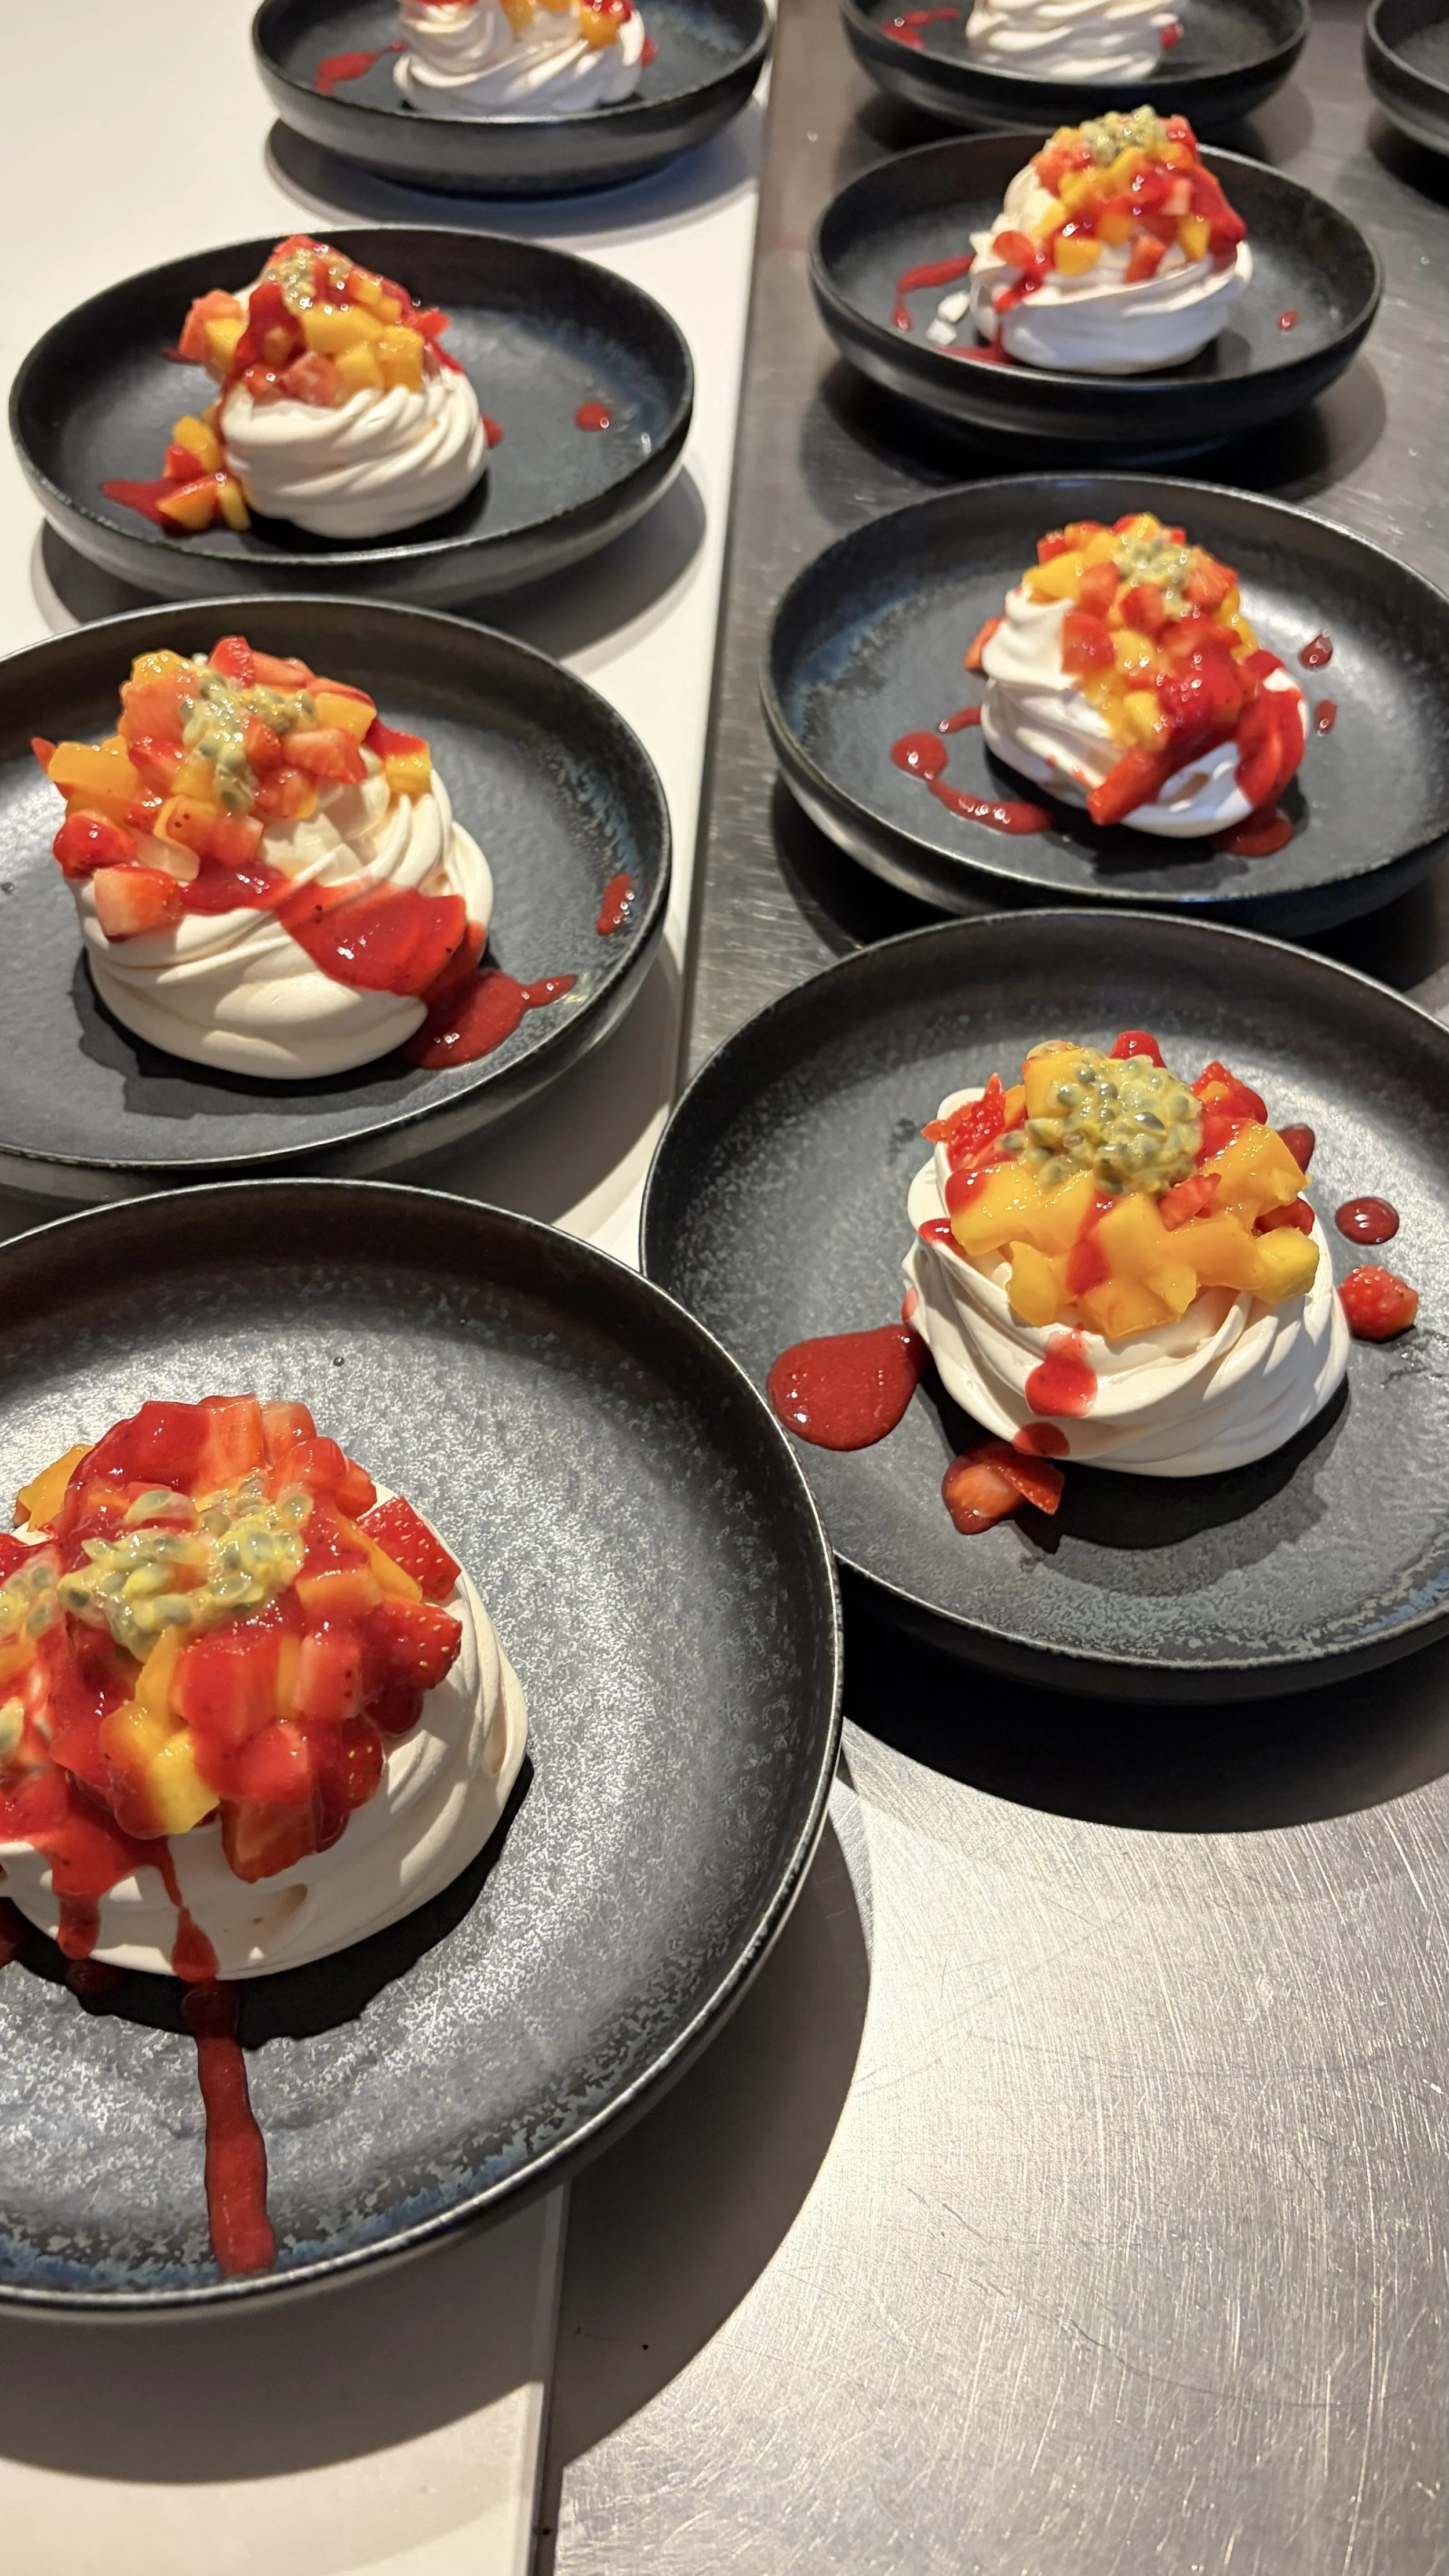
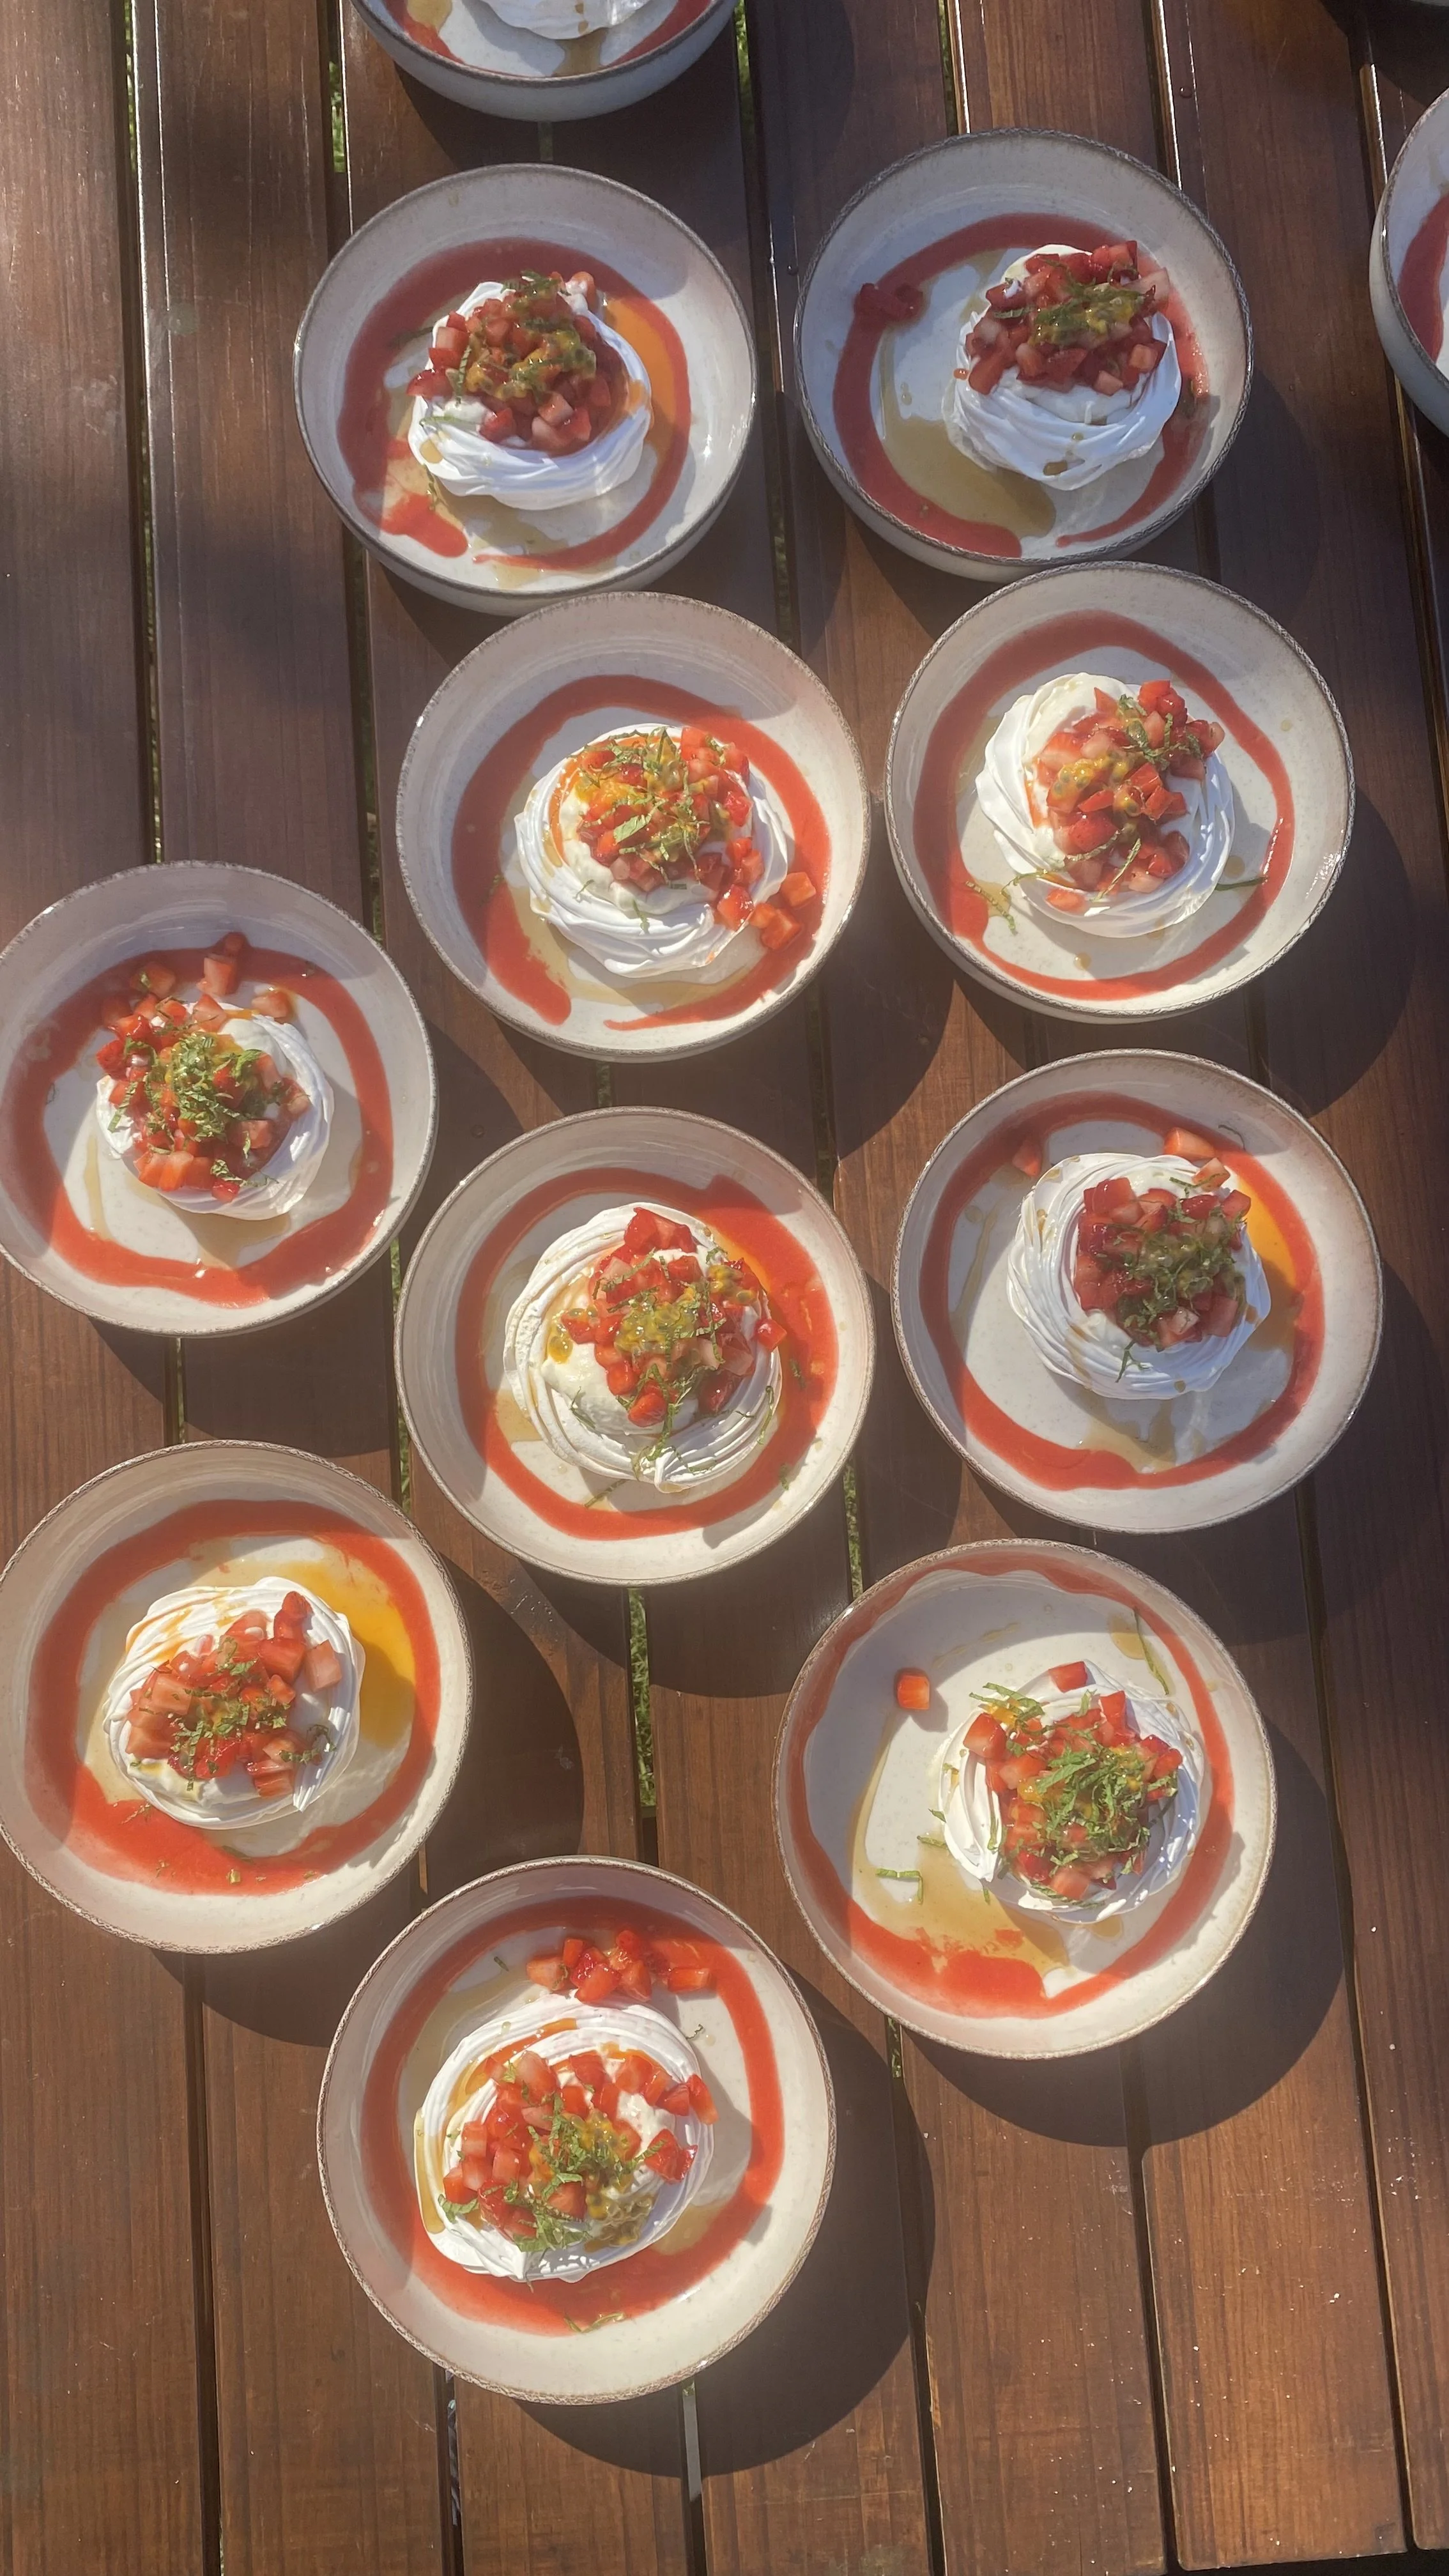
At its heart, the dessert is quite simple. A delicate meringue nest, crispy but soft and marshmallow on the inside(more on this later), filled with a combination of crème pâtissière (pastry cream) and Chantilly whipped cream, then finished with fresh seasonal fruits.
For me, the secret is getting the balance of sweetness and acidity just right. Meringue is naturally very sweet, so I always prefer fruits that have a little sharpness to cut through the richness of the cream. Strawberry and passion fruit are my go-to combination, but towards the end of summer, I also love using local Spanish mangoes from Málaga alongside the strawberries.
For something a little more tropical, pineapple and passion fruit work beautifully together, especially with a sprinkling of toasted coconut over the top. Amazing!
It's a dessert that looks elegant on the plate but doesn't need to be overly complicated. And that's something I always try to remind myself when creating menus: sometimes the simplest combinations, when done properly, are the ones people remember most.
So, by popular request, here's my little pavlova recipe for you to recreate at home.
Enjoy!
Chef Ross
P.S. If you enjoy this kind of content and wish to support me, share it with a friend and ask them to subscribe to my monthly newsletter!
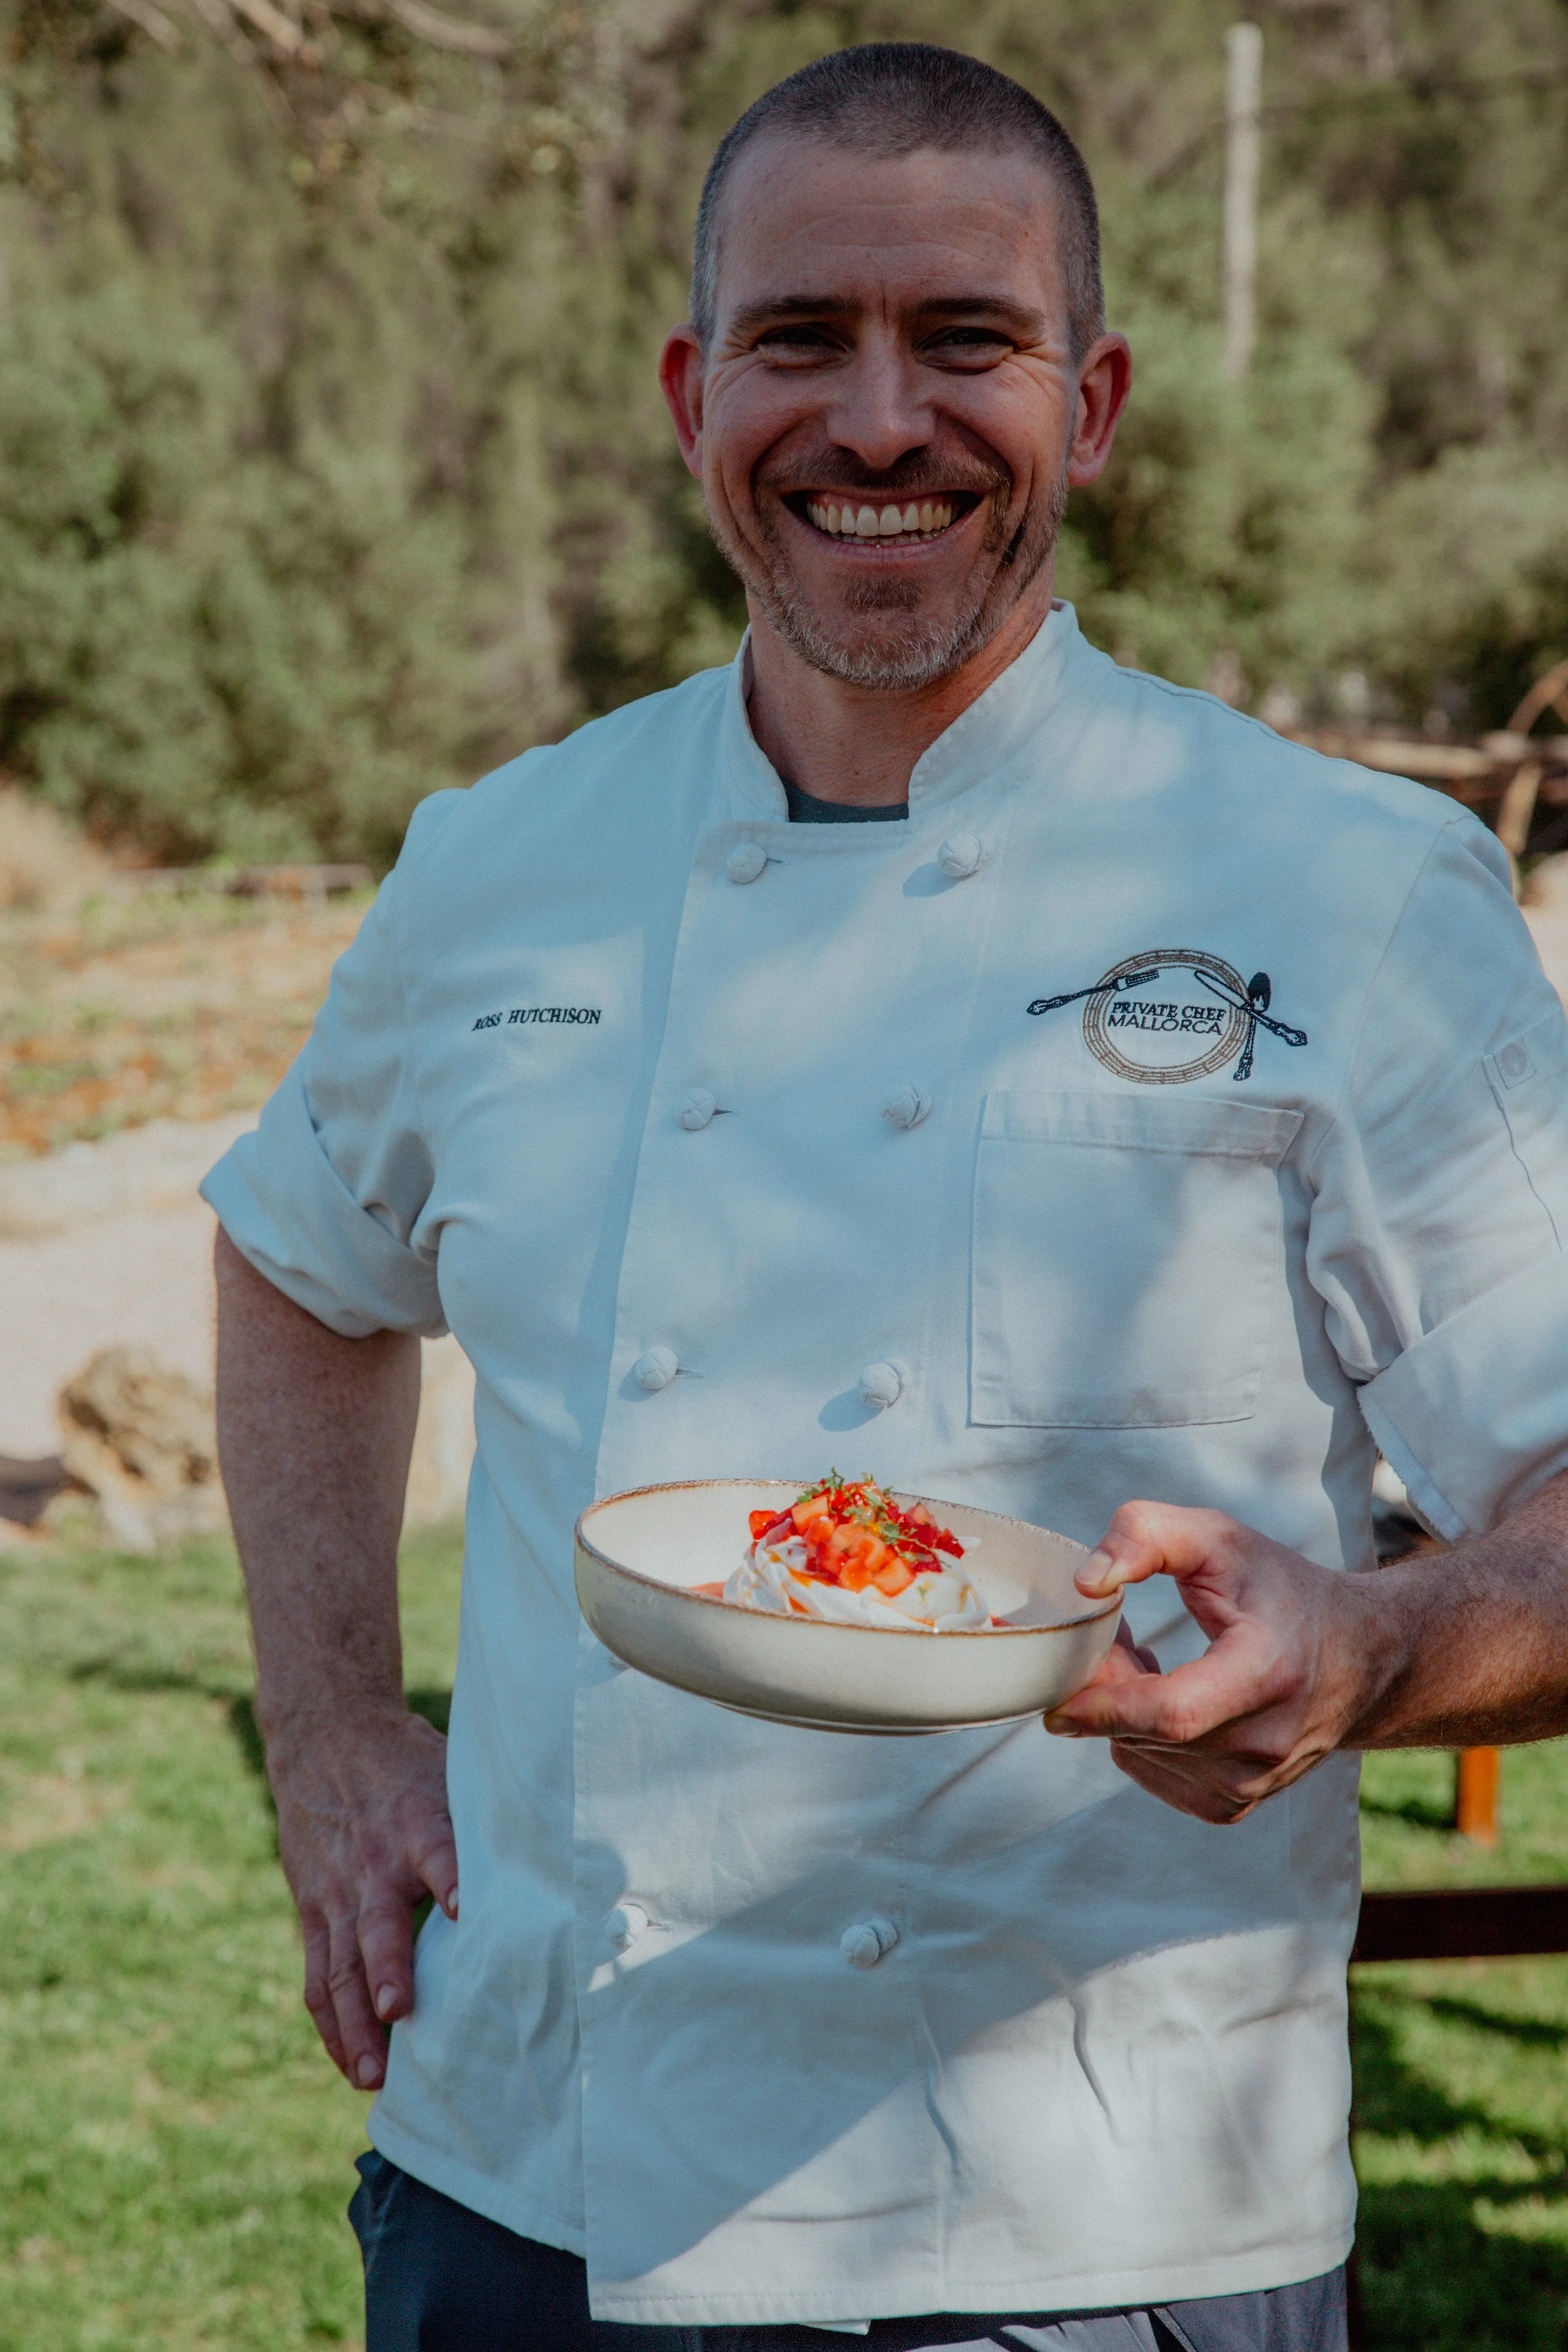
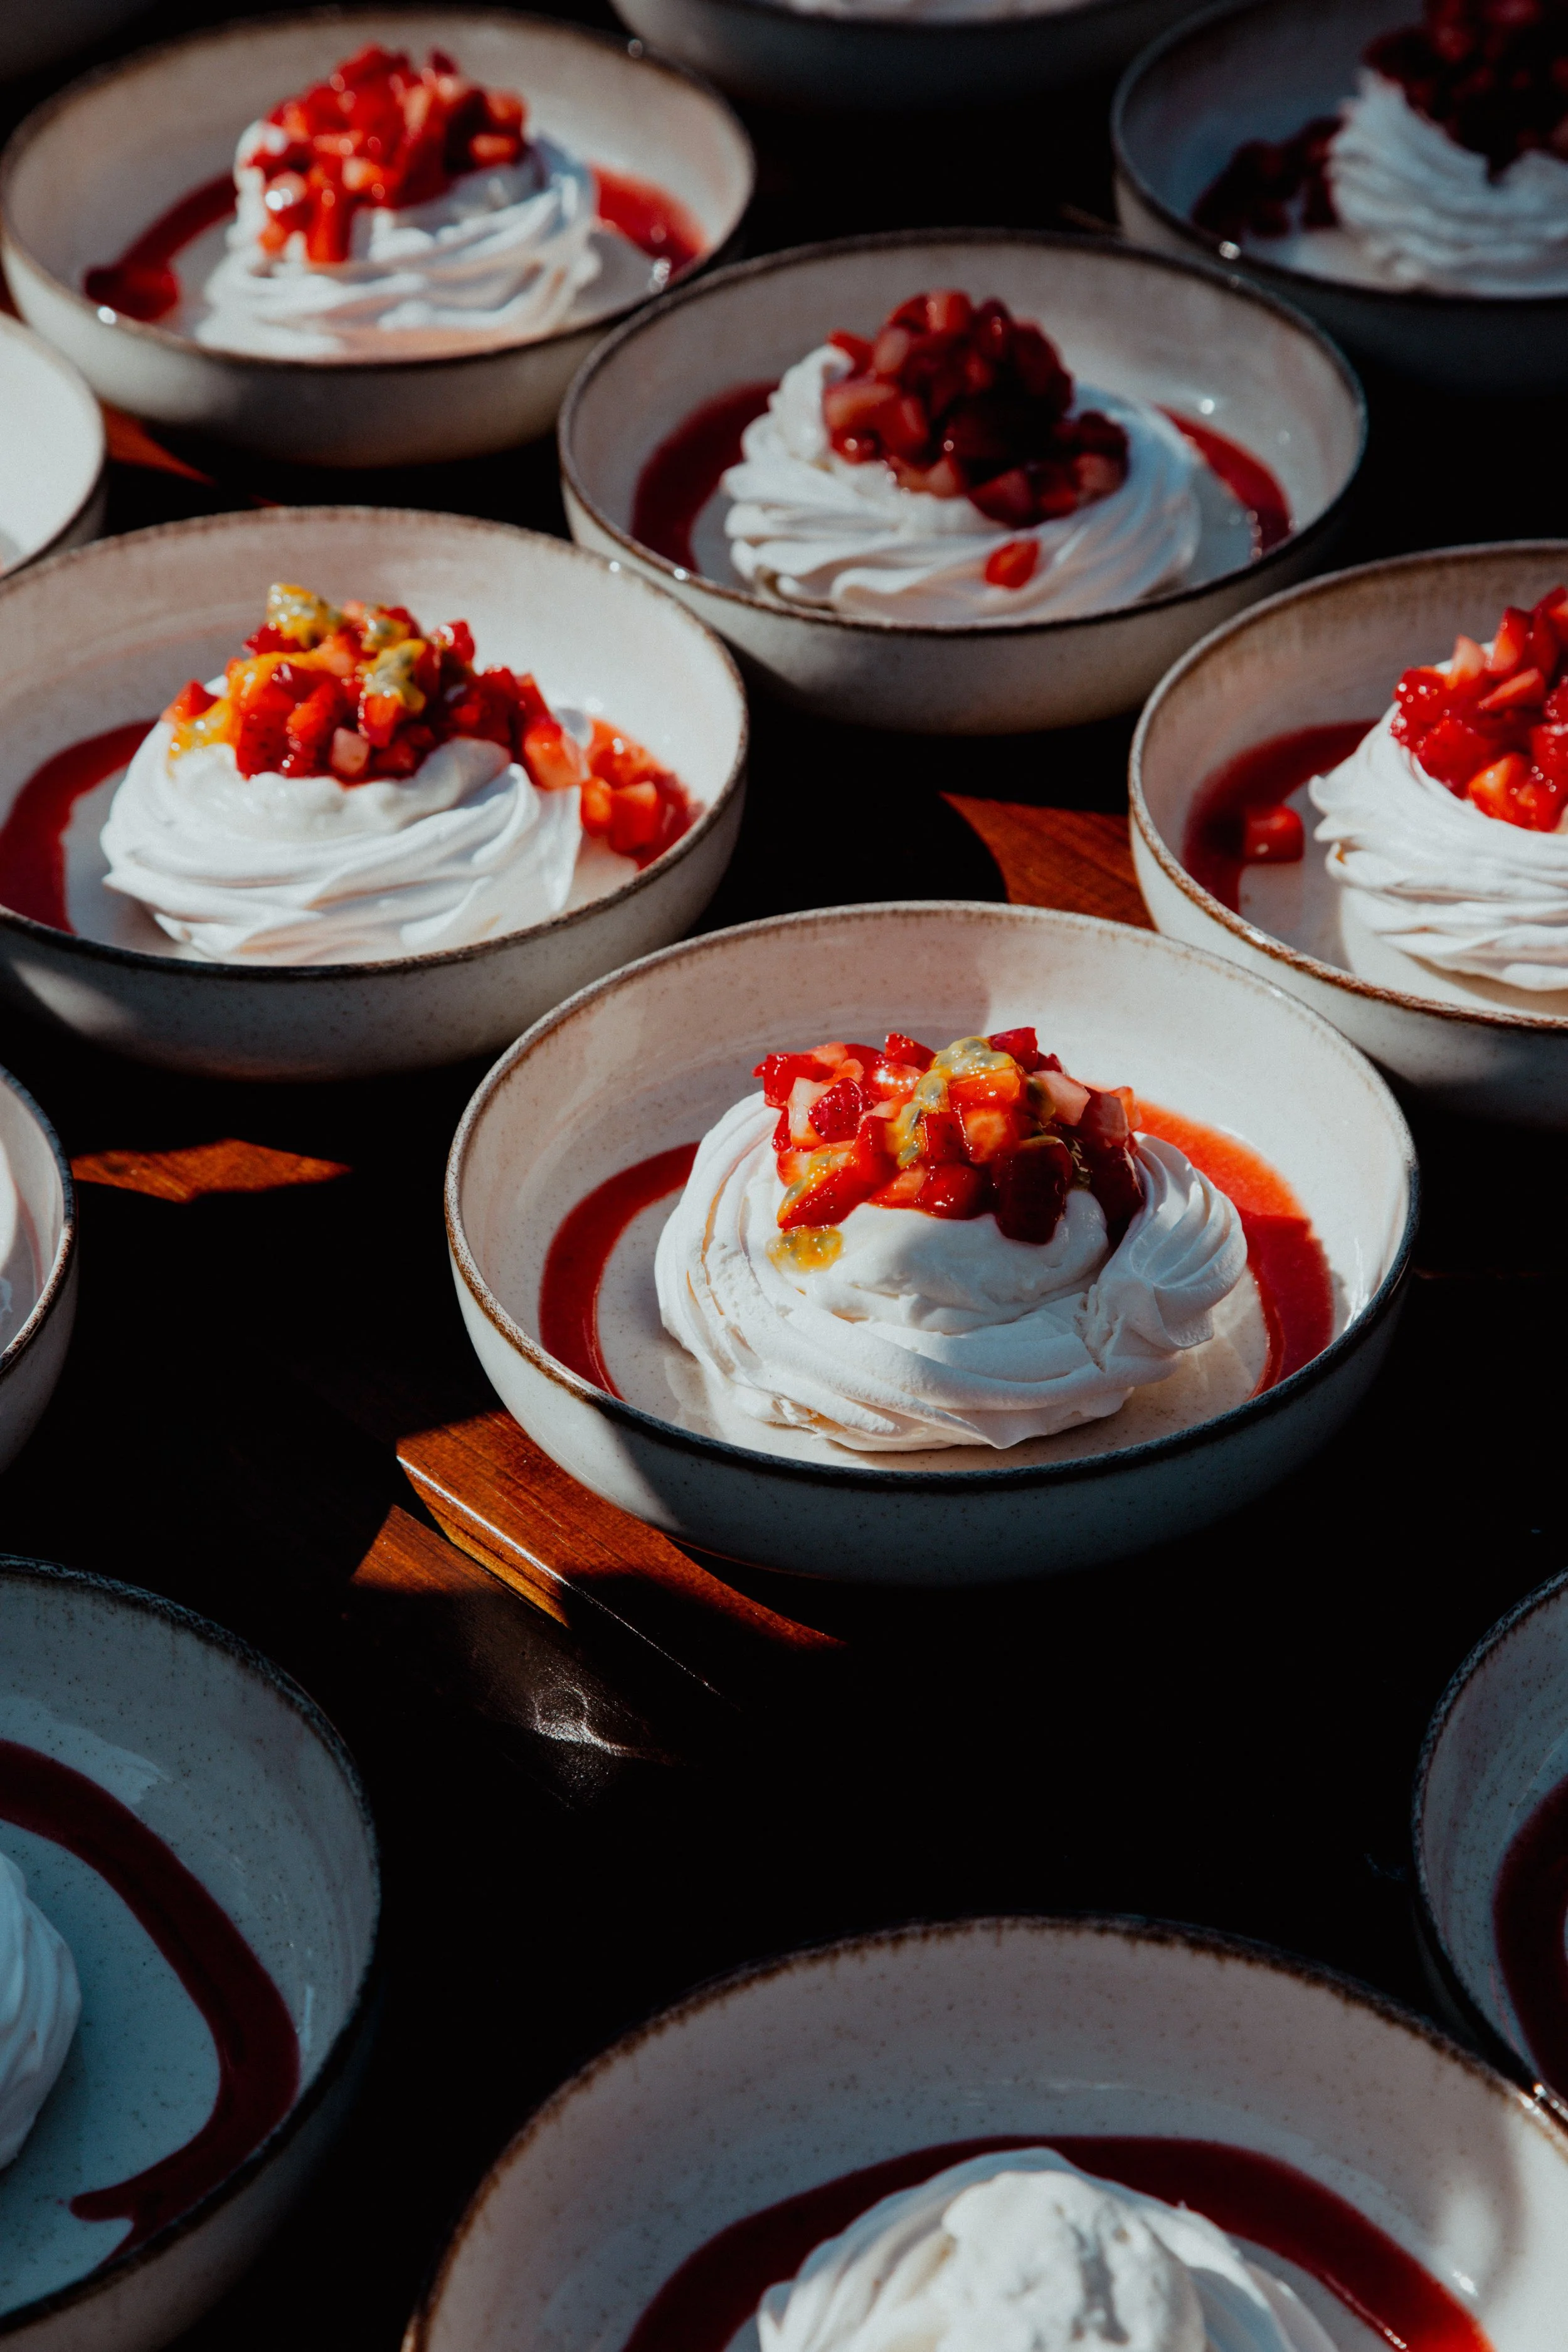
Mini Pavlova – The Perfect Meringue Nest
A beautifully light and crisp meringue with a delicate, marshmallow-like center. This is the foundation of my mini pavlova dessert and can be prepared ahead of time, ready to fill with vanilla crème diplomate and your favourite seasonal fruits.
Chef's note: I usually make 1.5 times this recipe when preparing pavlovas for my private dining events. But make sure you have a large enough mixer! This recipe below makes about 10 individual nests or 20 very small nests.
Ingredients
4 egg whites, at room temperature
220g icing sugar (powdered sugar)
2 tsp lemon juice
½ tsp vanilla extract
2 tsp cornstarch (Maizena)
Method
1. Prepare your equipment
Make sure your mixing bowl and whisk are completely clean and free from any grease. I like to wipe everything down with a little vinegar or lemon juice before starting, as even a small amount of fat can prevent the egg whites from whipping properly.
2. Whisk the egg whites
Place the egg whites into your mixing bowl and begin whisking on a low speed until small bubbles start to form. Gradually increase to medium speed and continue whisking until soft peaks develop.
3. Gradually add the sugar
With the mixer running, begin adding the icing sugar one tablespoon at a time, allowing it to incorporate before adding the next spoonful. Continue until all the sugar has been added and the meringue becomes thick and glossy.
4. Finish the meringue
Increase the mixer to high speed and whisk until you have firm, stiff peaks, about 3-5 more minutes. Add the lemon juice and vanilla extract, mixing briefly to incorporate.
5. Fold in the cornstarch
Add the cornstarch and gently whisk it in, being careful not to knock too much air out of the mixture.
6. Shape your pavlovas
Line a baking tray with parchment paper. Spoon or pipe (with a star tip) the meringue into individual nests, creating a slight hollow in the center of each one. This will give you a lovely little space to fill with cream and fruit later. Make sure to leave some room between each nest; They expand!
Baking
Preheat your oven to 130°C.
Place the pavlovas in the oven and bake for 10 minutes.
Reduce the temperature to 103°C and continue baking for approximately 1 hour 30 minutes to 2 hours, depending on their size.
Once baked, turn the oven off and leave the pavlovas inside to cool completely.
Avoid opening the oven door while they're cooling. This gradual cooling process helps prevent sudden temperature changes that can cause the meringue to crack.
A Few Tips from My Kitchen
Room-temperature egg whites: These generally whip more easily and create better volume.
Take your time with the sugar: Adding it gradually is key to achieving a smooth, stable and glossy meringue.
Low and slow: The aim is to dry out the meringue rather than color it. You're looking for a pale, delicate shell with a crisp exterior.
Prepare ahead: Once completely cooled, the meringue nests can be stored in an airtight container in a cool, dry place until you're ready to assemble them. Avoid refrigerating unfilled meringues, as moisture can make them sticky. These can last a week or longer air-tight
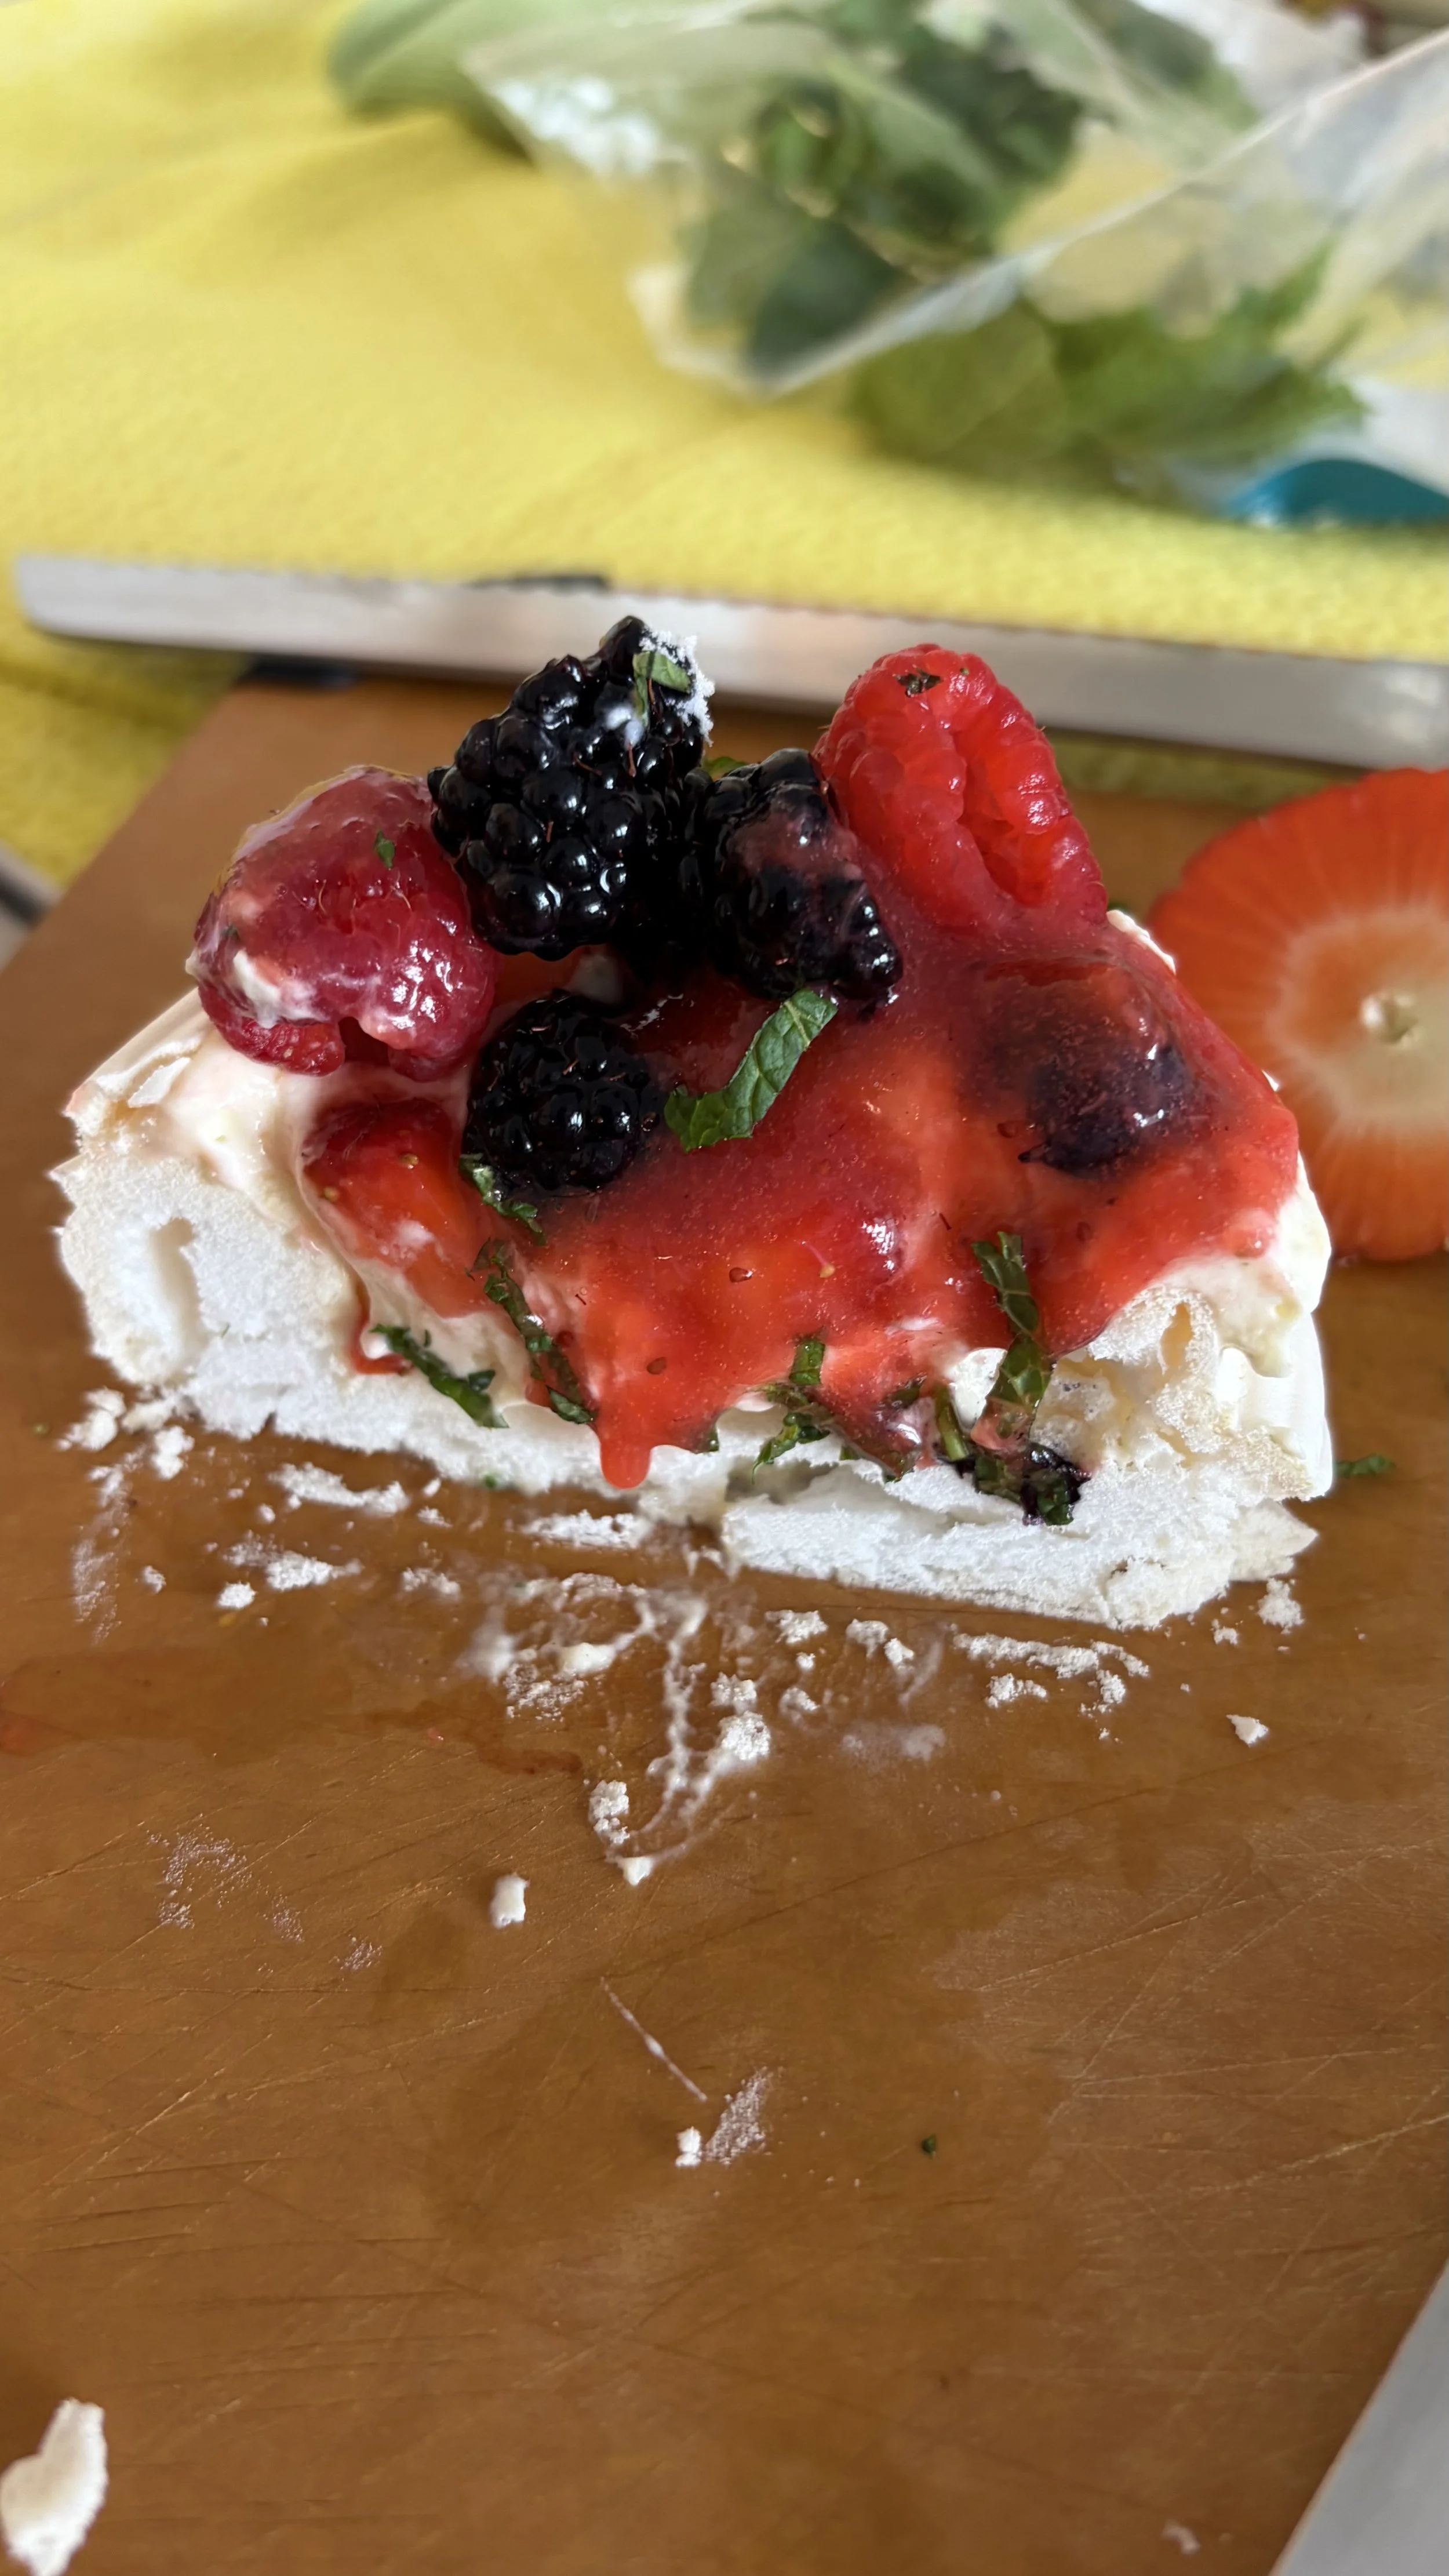
Fill a few minutes before serving: For the best texture for the meringue, add your cream and seasonal fruits and wait a little before bringing them to the table. This allows the meringue to soften a bit in the center giving more marshmallow texture and contrast to the crisp shell!
Enjoy!
Chef Ross – Private Chef Mallorca
Vanilla Crème Diplomate – With a Little Help from Martha!
Now for the creamy part!
I've tried many pastry cream recipes over the years, but there's one I always come back to: Martha Stewart's No-Fuss Pastry Cream. It's simple, reliable, and produces a beautifully smooth vanilla custard without too much fuss.
Having had the pleasure of cooking for Martha myself (which I shared in my September blog), it seems only fitting that one of her recipes has become a staple in my own kitchen!
For my pavlovas, I take Martha's pastry cream and lighten it with freshly whipped Chantilly cream. The result is what's known as a crème diplomate—a silky, airy vanilla cream that pairs beautifully with crispy meringue and fresh fruit.
Part 1 – Martha's No-Fuss Pastry Cream
Makes approximately 600ml
Ingredients
100g granulated sugar
32g cornstarch (Maizena)
A pinch of salt
4 large egg yolks
½ vanilla bean, seeds scraped, or 1 tsp pure vanilla extract
480ml whole milk
28g unsalted butter
Method
In a medium saucepan, combine the sugar, cornstarch, and salt.
In a separate pitcher, whisk the egg yolks with the milk and vanilla seeds, if using.
Pour the liquid ingredients into the saucepan, add the butter, and place over medium heat.
Whisk continuously as the mixture heats. Once it begins to bubble and thicken, allow it to cook for another minute, keeping the whisk moving.
Remove from the heat and stir in the vanilla extract if using this instead of the vanilla bean.
Pass the custard through a fine sieve into a clean bowl to ensure a beautifully smooth finish.
Cover with plastic wrap directly touching the surface of the cream to prevent a skin from forming. Refrigerate for at least 2 hours, until completely chilled.
Chef's tip: I usually prepare this the day before my events. It keeps beautifully in the fridge for up to two days and means one less thing to worry about on the day!
Recipe credit: Adapted from Martha Stewart's No-Fuss Pastry Cream. You can find her original recipe at MarthaStewart.com.
Part 2 – Turning It into Crème Diplomate
This is where I add my own little touch.
Pastry cream on its own is delicious, but for a pavlova, I prefer something lighter. Folding in whipped Chantilly cream gives it a softer, almost mousse-like texture without losing that lovely vanilla richness.
Additional Ingredients
300ml cold heavy whipping cream (35% fat)
1 tsp powdered sugar
½ tsp vanilla extract
Method
Whip the cold cream with the powdered sugar and vanilla until soft-to-medium peaks form. You want it to hold its shape without becoming too stiff.
Remove your chilled pastry cream from the fridge and give it a good whisk to loosen it until smooth.
Gently fold the whipped cream into the pastry cream in two or three additions, using a spatula.
Once combined, refrigerate until ready to assemble your pavlovas.
The result should be a beautifully light, silky cream that holds its shape when spooned or piped into the meringue nests.
A Little Tip from My Kitchen
I prefer not to make the filling overly sweet, as the pavlova itself already brings plenty of sweetness to the dessert. The tsp of powdered sugar helps stiffen the whipped cream, not making it overly sweet. This is also why I love finishing it with slightly acidic fruits such as passion fruit, strawberries, or pineapple.
It's all about balance!